THE FOYER
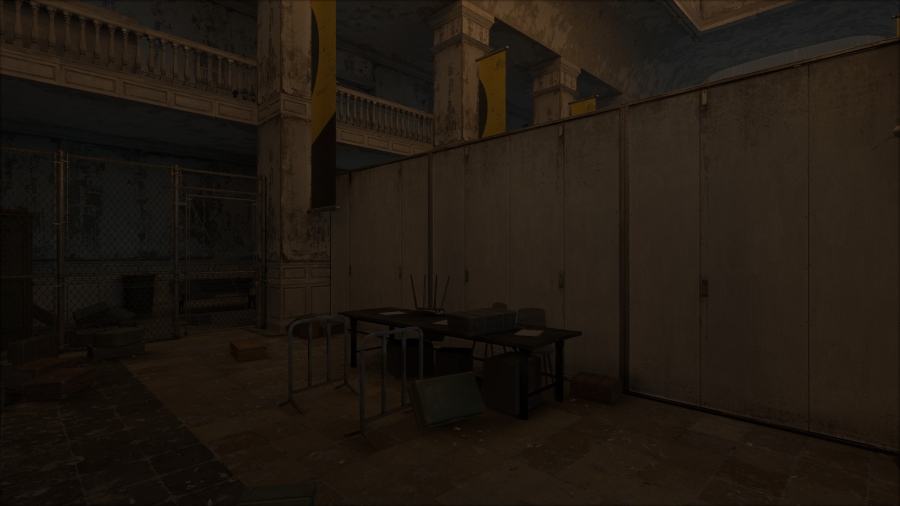
Exit the starting area through the chain-link door to your left.
Walk past the giftshop and turn right to continue into the foyer checkpoint queue.
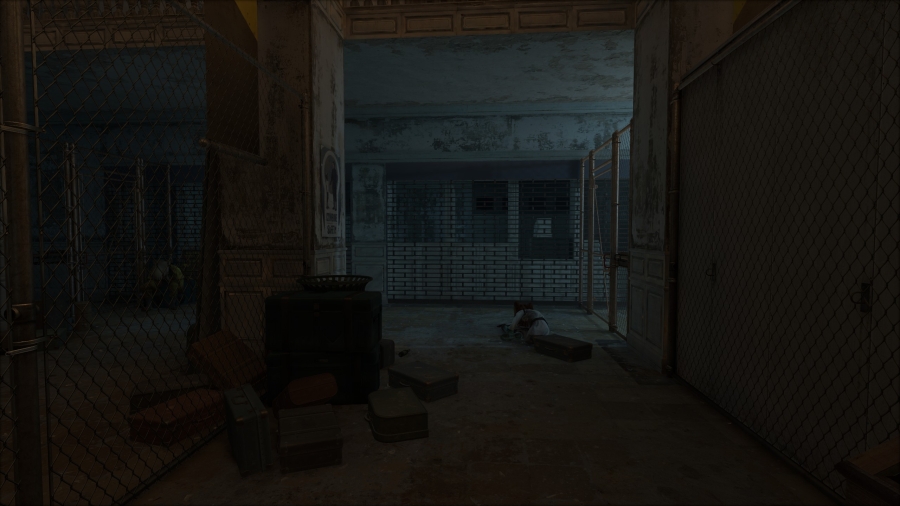
Walk forward and kill the zombie laying on the ground and their friend sitting on a box around the corner.
Proceed down the queue to the inactive scanning machines and go through them.
THE ATRIUM
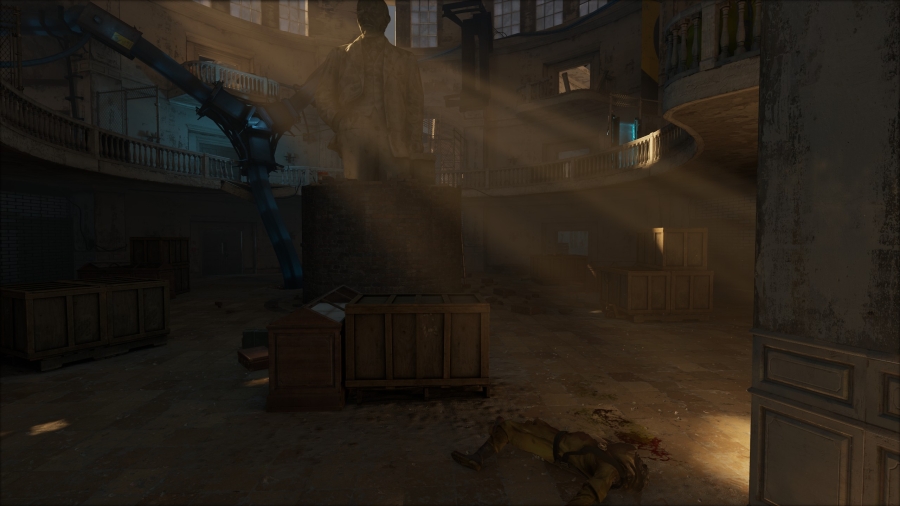
Upon entering the atrium, kill the zombie laying on the ground in the patch of sunlight.
The path forward is through the open stairwell opposite the scanners. Continue through and downstairs into the museum basement.
THE BASEMENT

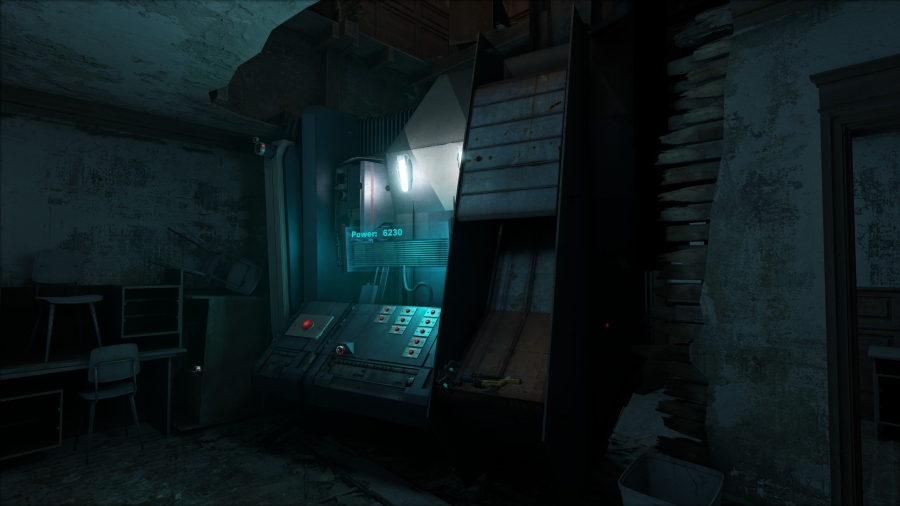
In the basement, you are presented with a puzzle to turn the power on. Each switch in the electrical cabinets toggles two breakers. The cabinets are numbered below:
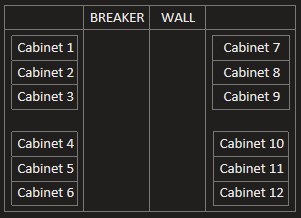
The solution is to open and flip cabinets 2, 3, 5, 6, 7 and 11.
When the puzzle is solved, the combine console in the center of the room will chime and begin to light up. Upon completing, a loud electrical noise can be heard from upstairs. Head back up to the stairwell.
THE ATRIUM
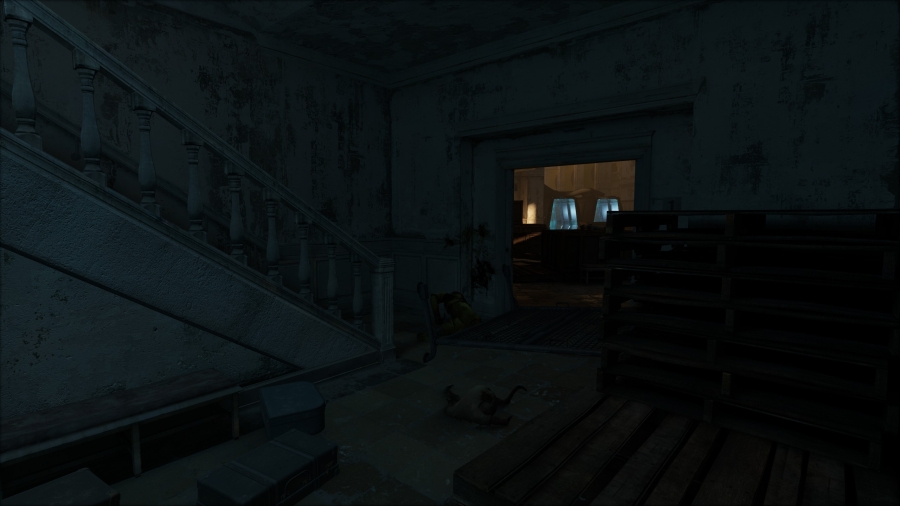
Entering the stairwell, a zombie will knock down the barricade blocking the upper floors. Defeat them.
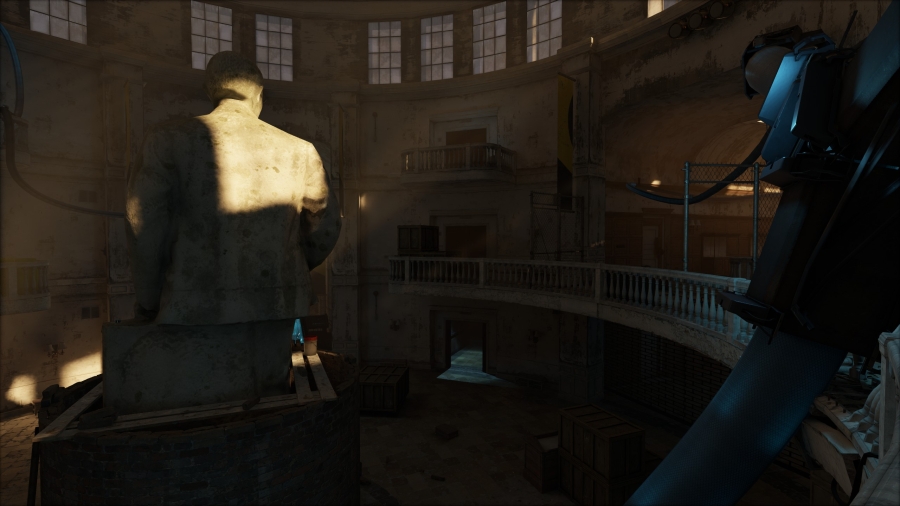
NOTE: If you stay on the first floor, one of the elevators is open and usable now. Take it to the top floor to grab the shotgun!
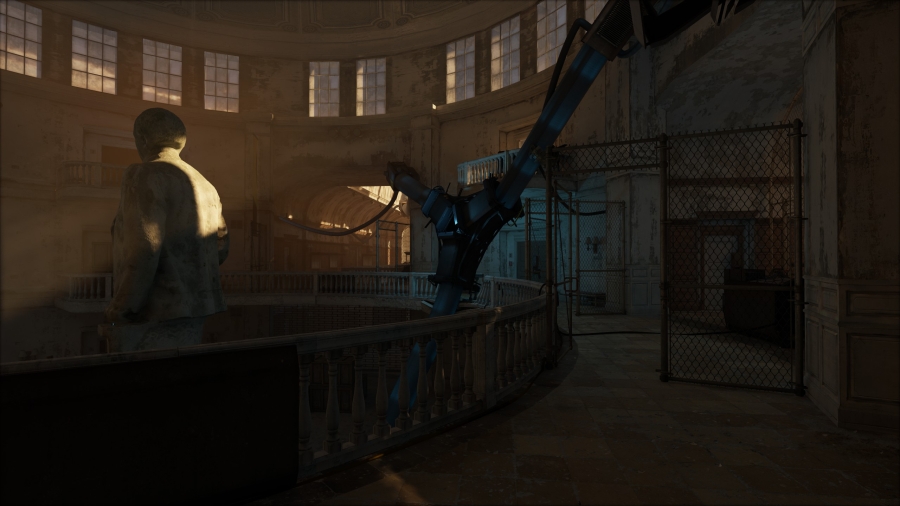
Taking the path to the second floor that the zombie opened, continue counter clockwise around the second floor balcony to the open south wing.
THE SOUTH WING

In the south wing, stick to the east wall and enter the blue gallery.
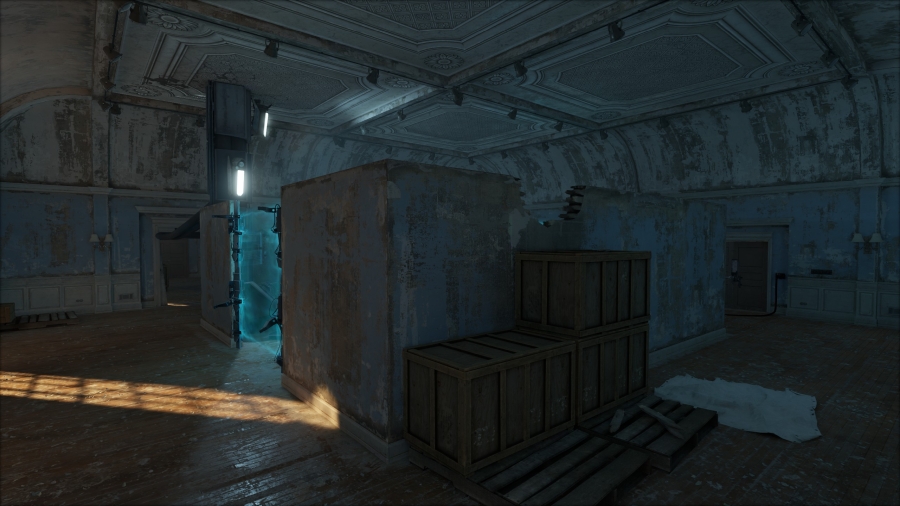
In the blue gallery, continue into the second half of the space and climb the boxes to enter the fencefield enclosure.
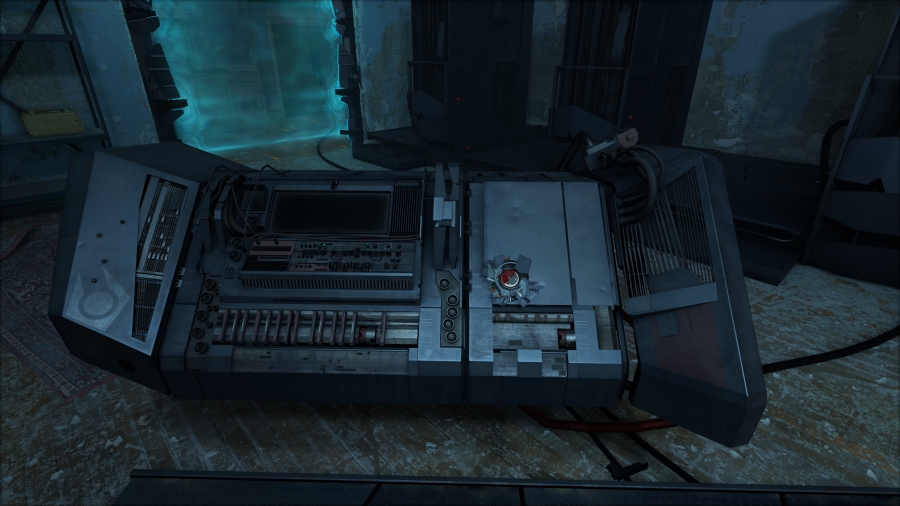
In the fencefield enclosure, use your Multitool to activate the toner puzzle from the combine console in the center of the space.
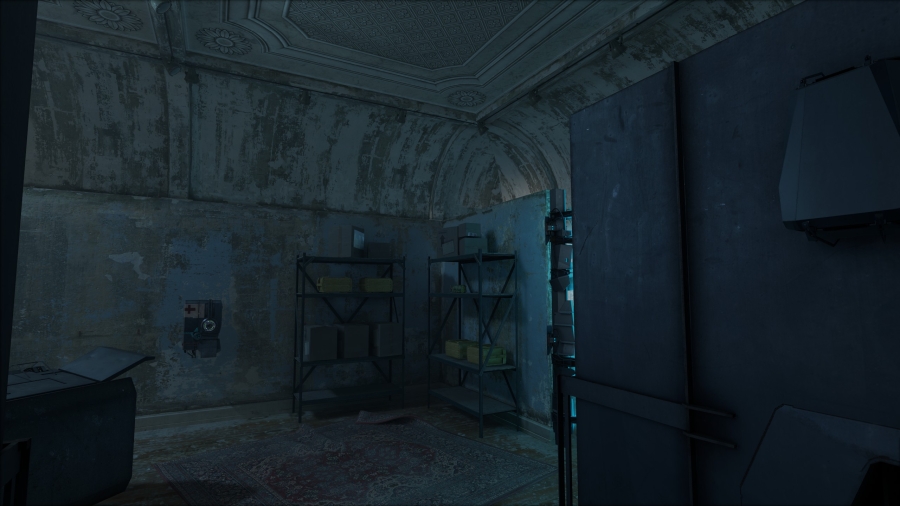
Upon starting the toner puzzle, a combine patrol will wander into the gallery space. You can kill the patrolling grunt and their responding partner, or solve the toner puzzle to force them into an investigative position near the exploded door. Either way, defeat the grunts and enter the newly accessible hallway.
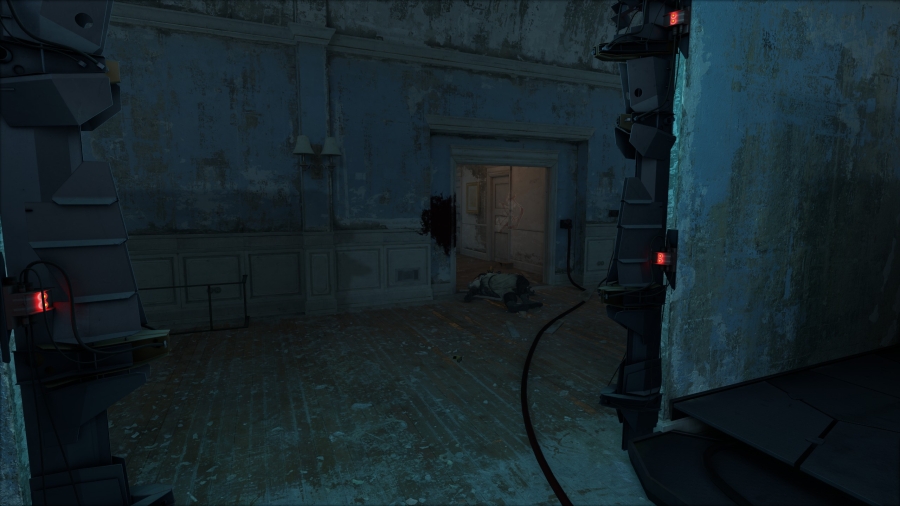
THE FOYER
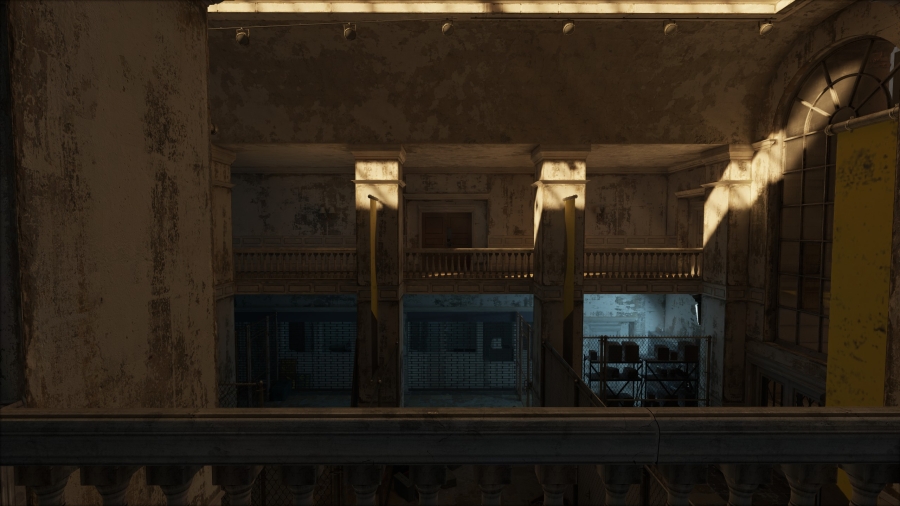
Upon exiting the hallway into the foyer balcony space, the double doors across the balcony will detonate and three combine will enter the opposite balcony. Defeat them and take the stairwell door down to the giftshop.

In the giftshop, activate the weapon upgrade station and press the gate button near the dead hazmat worker to open the giftshop security gate.
Exiting the giftshop, the security gate for the ticketing counter also raises. Head over there.
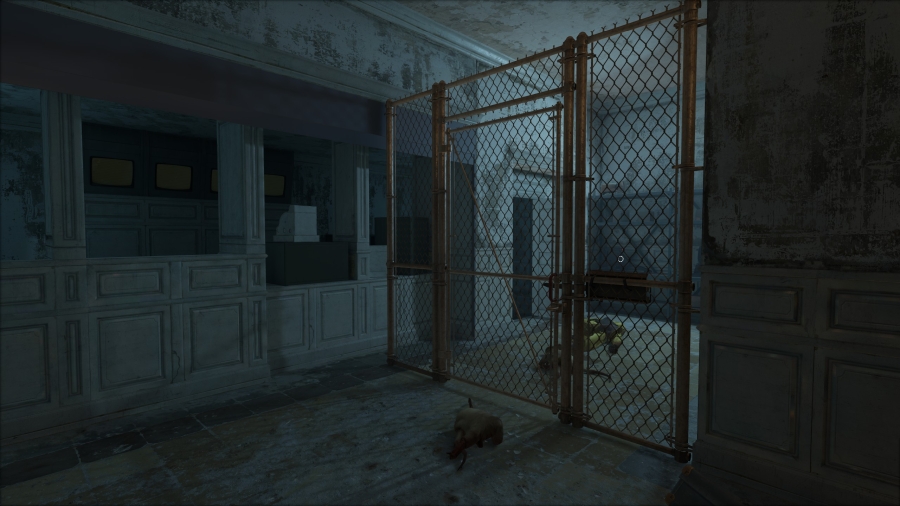
When approaching the ticketing counter, a zombie will exit a door to your right. Using the new gap accessible from the gate lifting, walk around the chain-link fence and kill the zombie. Grab the handle on the combine slide lock to unlock the chain-link door. Exit the fenced in space through the ticketing door the zombie came out of.
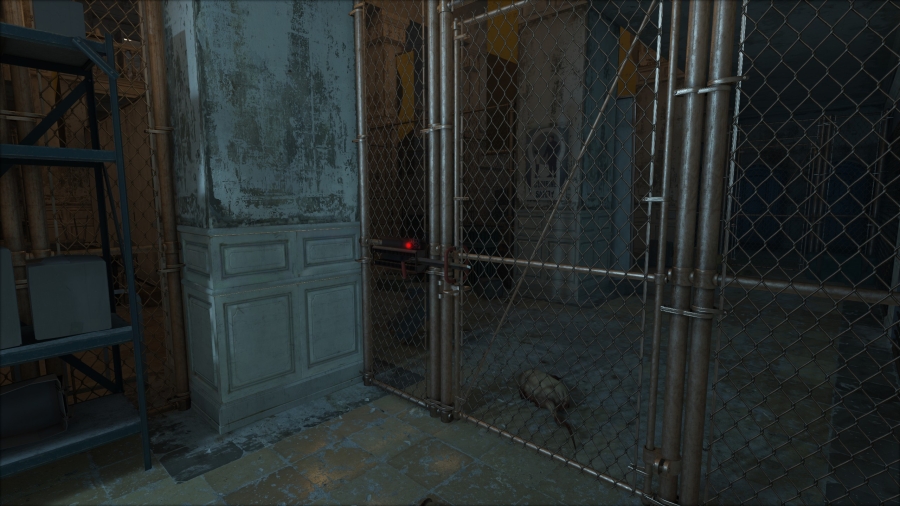
Walk down behind the ticketing counter and enter the door on the far side. In front of you should be a large combine machine.
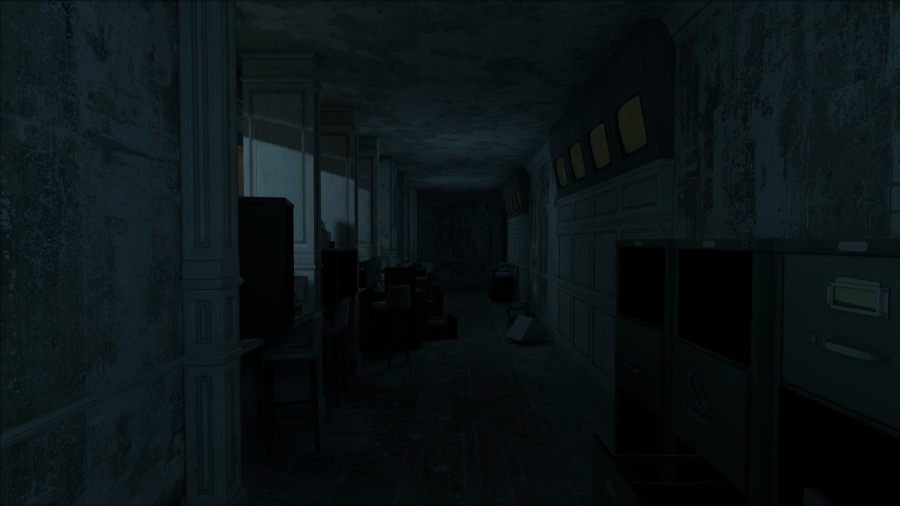
Solve the hacking puzzle on the machine to turn it on. The combine machine is the Idler, and will generate power that you can spend on items during the playthrough. It will immediately print a shotgun and some ammo if you didn't find the shotgun earlier. If you did find the shotgun, it'll just print ammo.
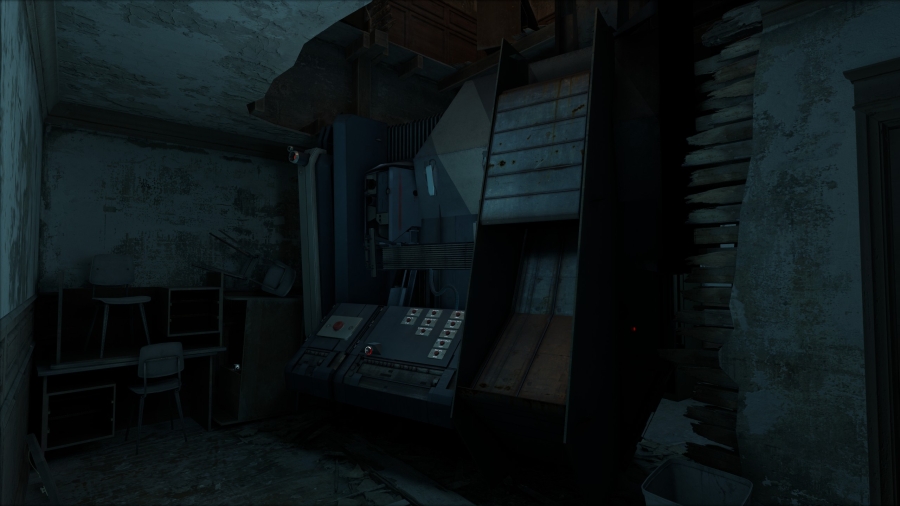
Exit the Idler room back into ticketing. The scanner machines blocking the atrium have turned off and are beeping to indicate they're ready for use. Walk over to them.
THE ATRIUM
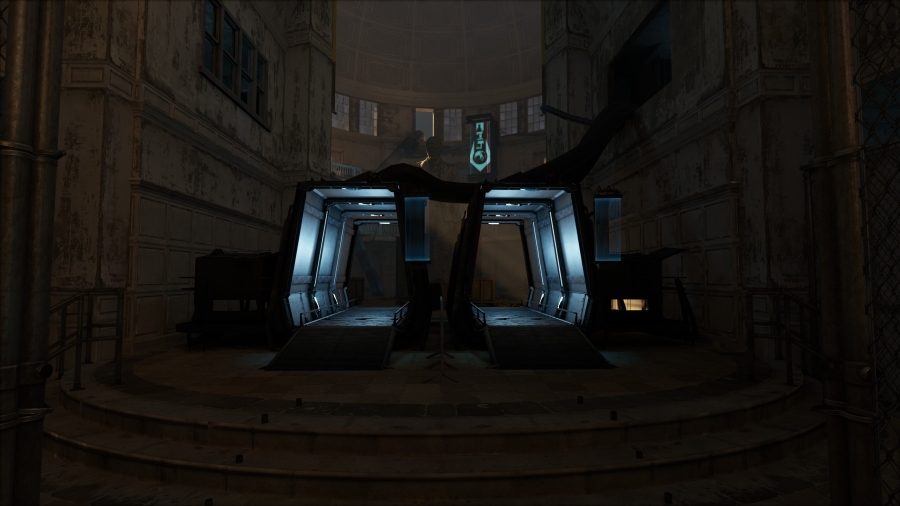
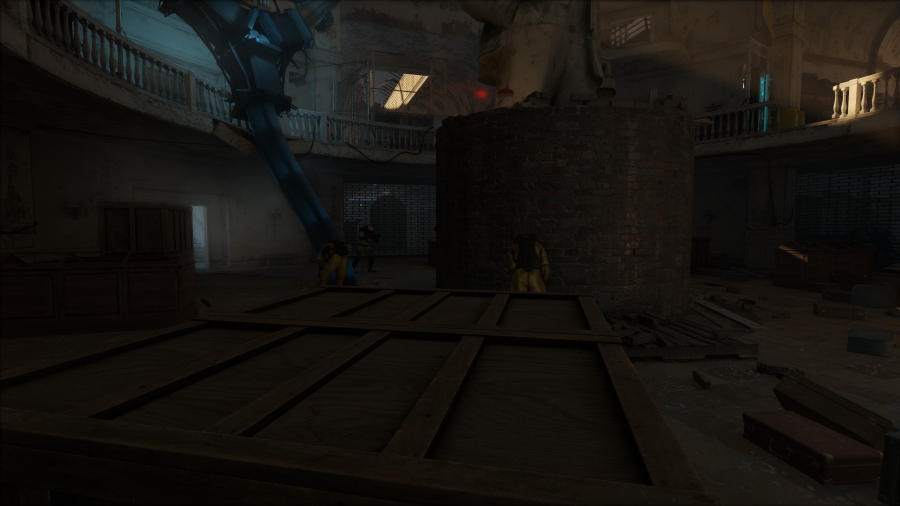
Walking through the scanner, it will turn on and begin to scan you. The noise from the machine has attracted zombies in the atrium, and combine breach in through the blocked stairwell. Observe or interact with the fight, defeating the remaining enemies.
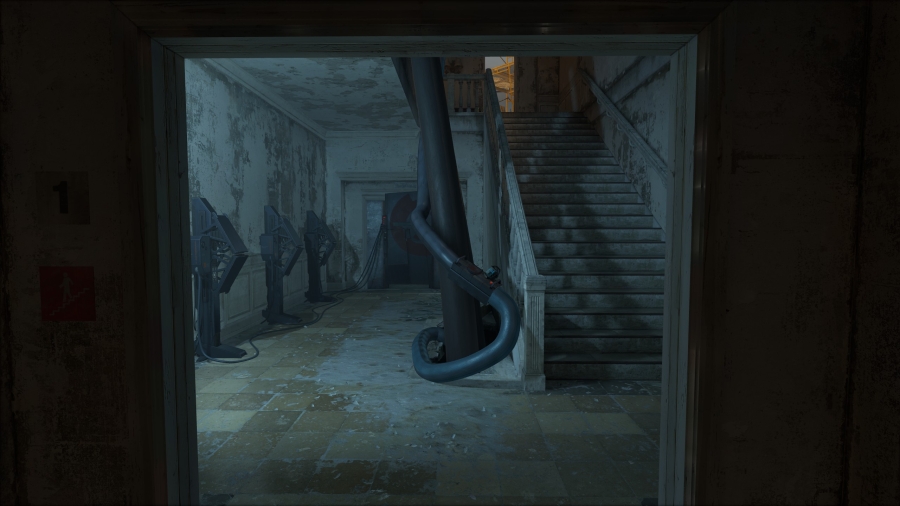
Enter the breached door the combine came through into the other stairwell. A button in front of you will eject a battery from the cable. Slot the battery into one of the combine battery machines. Observe that two more are needed to open the door blocking the basement.
Head up the stairs past the locked doors, continuing to the third floor balcony. A set of combine consoles in front of you have a button on them. Press it. The combine fencefield blocking the north wing turns off and a klaxon begins blaring.
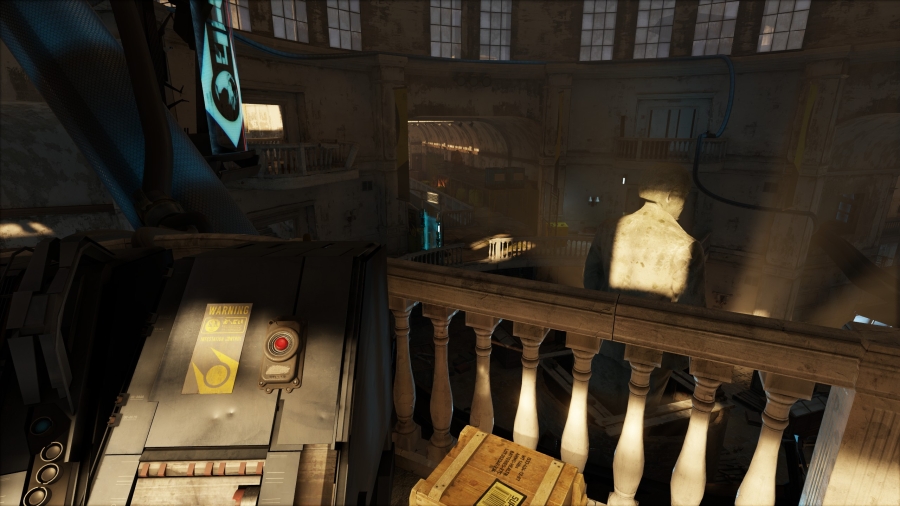
A charger starts hitting the door on the second floor. Head back to the stairs.
At the top of the stairs, the charger has broken through the doors. Defeat them and exit the stairwell on the second floor, heading to the newly opened north wing.
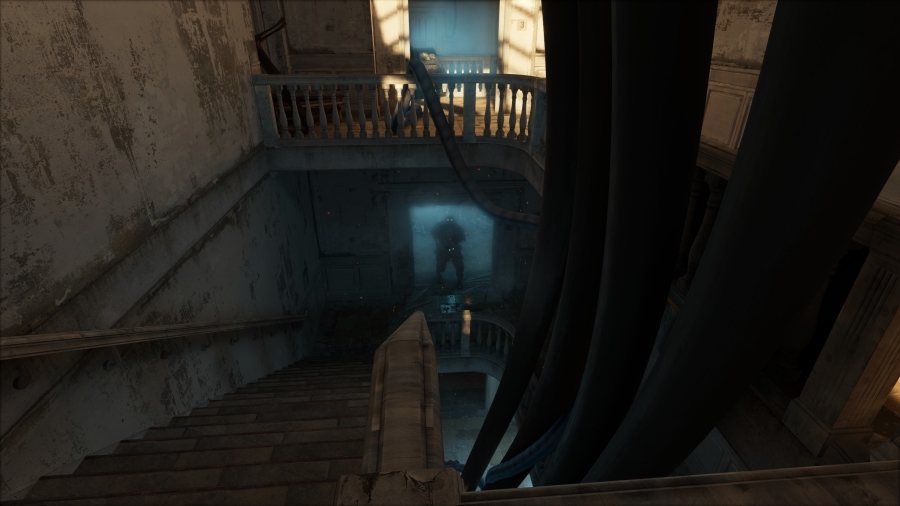
THE NORTH WING
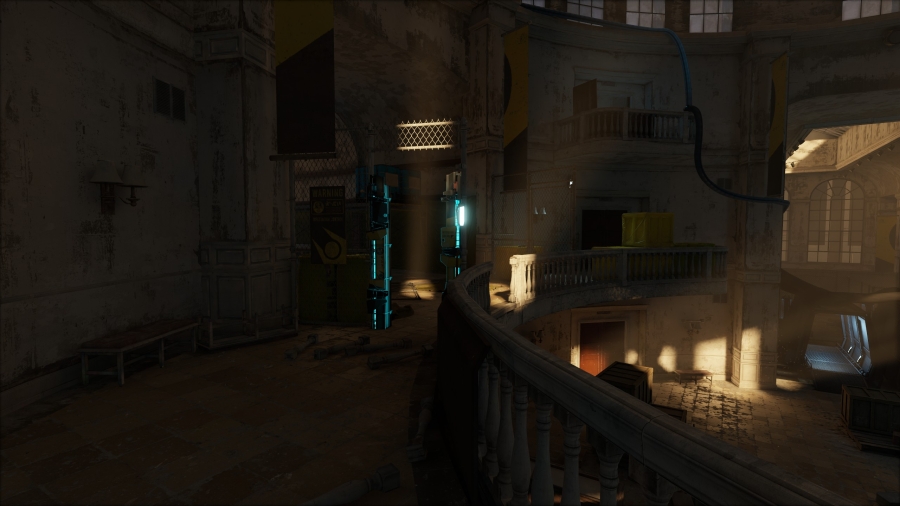
Upon passing the combine fencefield, head directly across and shoot the lock off the chain-link gate to collect some ammo and the SMG.

Follow the walkway down the north wing and observe an open gallery door to your left. The tripwire gallery is an optional puzzle that rewards ammo and resin upon completion.
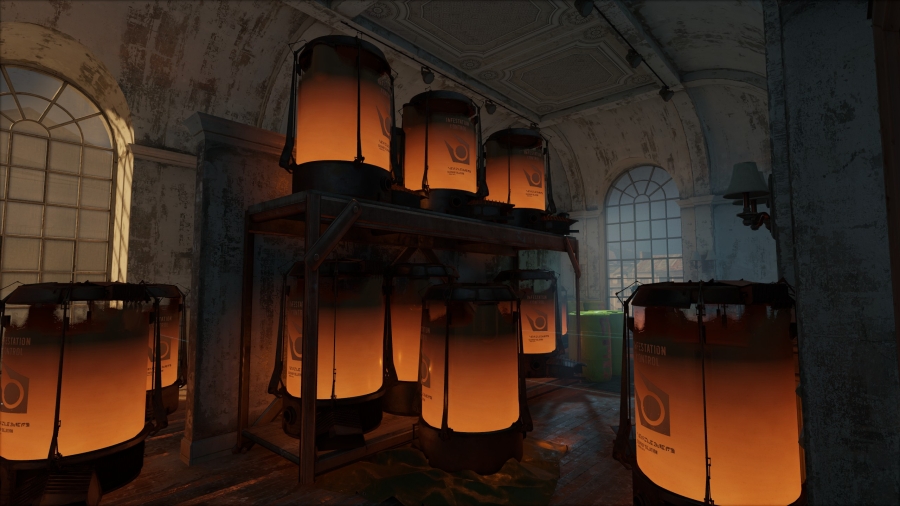
Continue down the north wing corridor and around the railing to the gallery doors with infestation signs hung up on them. Open the doors and walk into the gallery space.
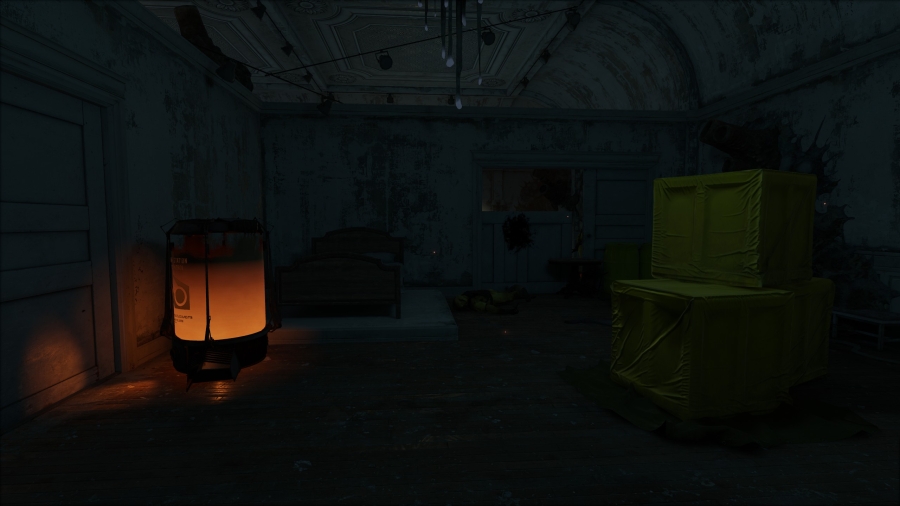
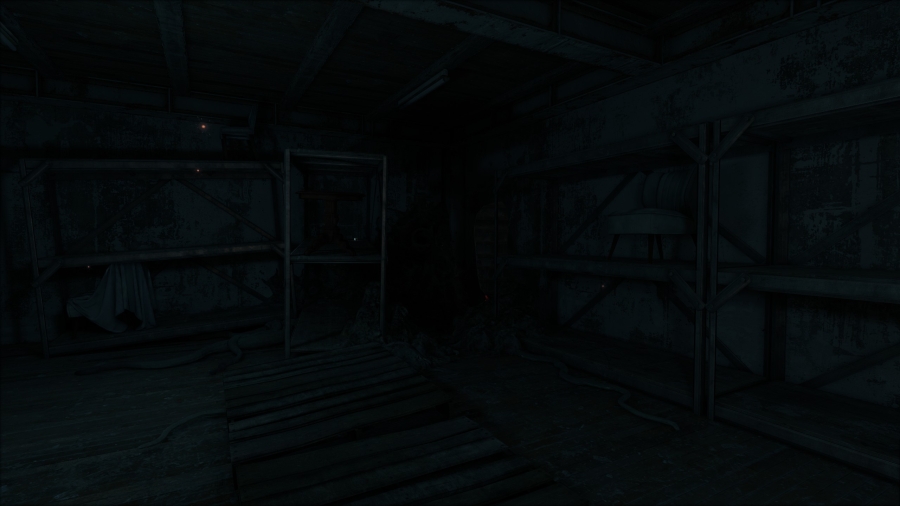
In the gallery, each section holds several zombies and headcrabs. Fight through to the storage space in the rear of the gallery.
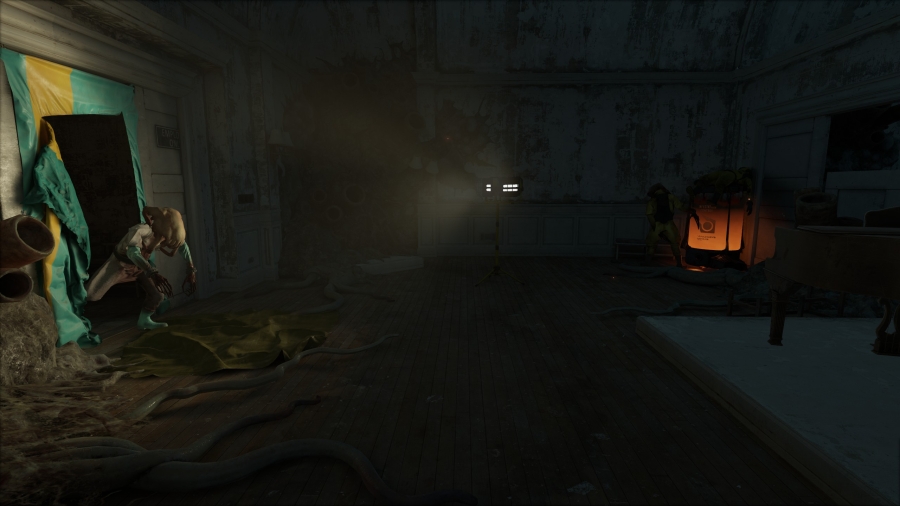
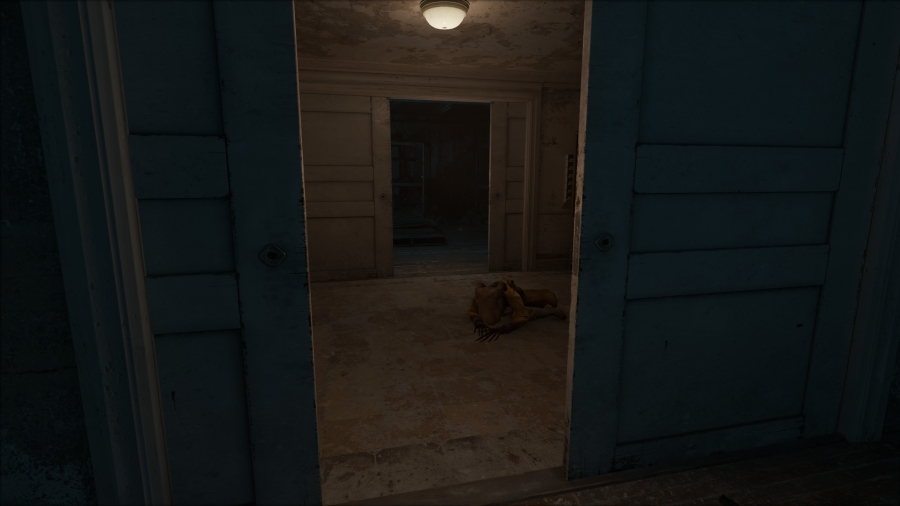
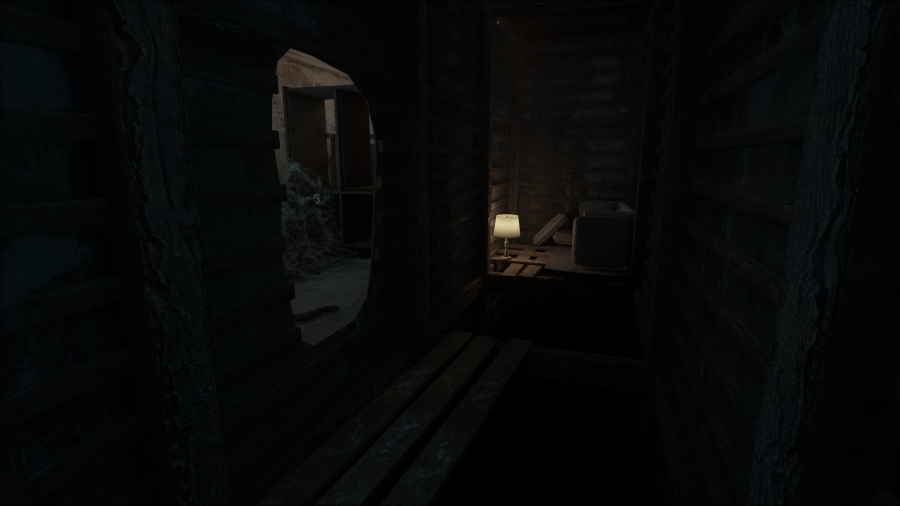
In the storage space, continue fighting through until you reach a single door in a hallway.
THE FOYER
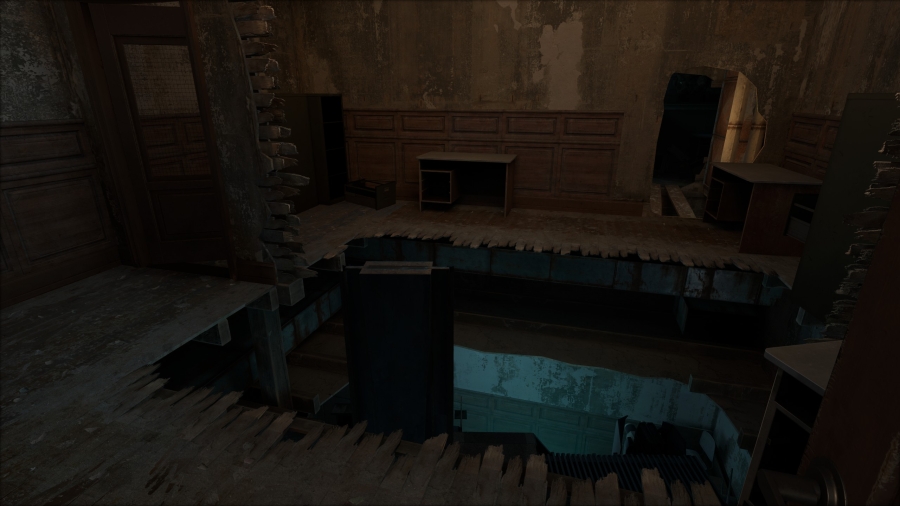
Going through that door, you find yourself above the Idler from earlier. Walk around the hole in the floor and exit the space through a hole in the wall opposite of the door you entered from.
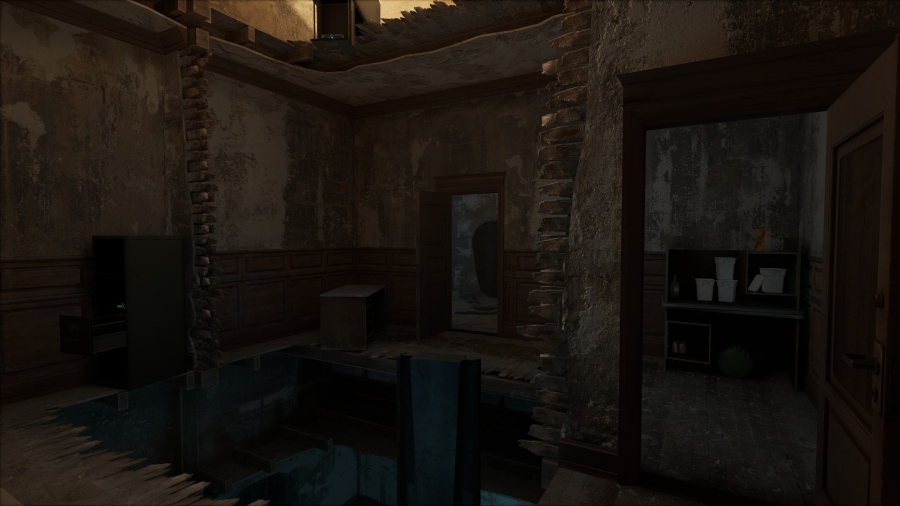

THE OFFICE

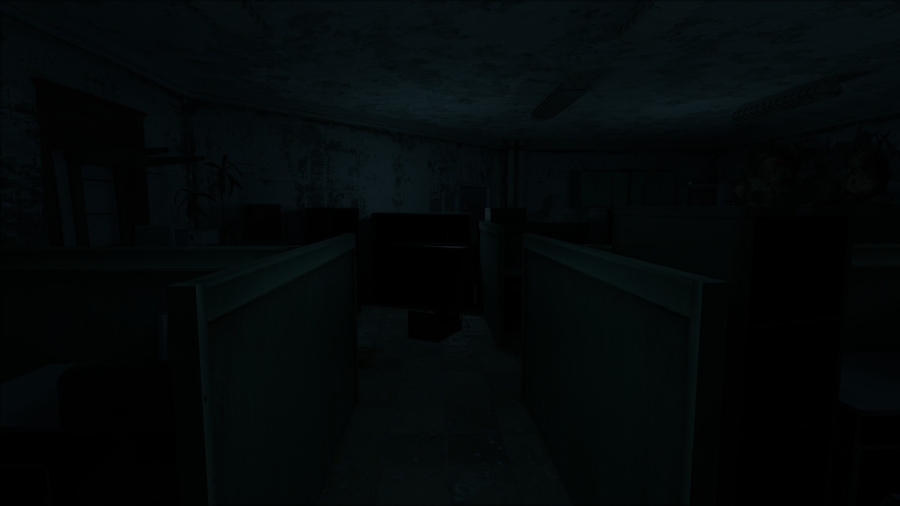
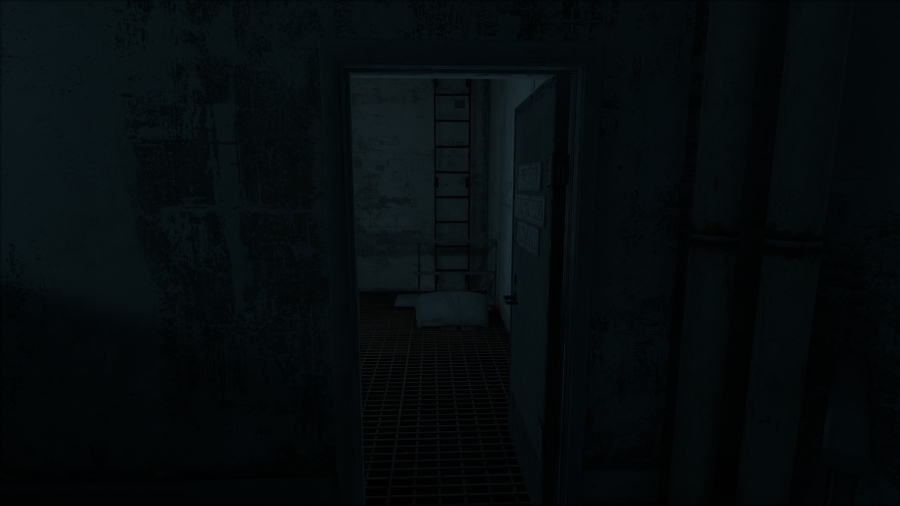
Immediately upon entering the office, a headcrab to the left of you becomes agitated. Defeat them and walk through the cubicles. Two more headcrabs will spawn. Exit the office through the maintenance door on the other side.
THE ATRIUM
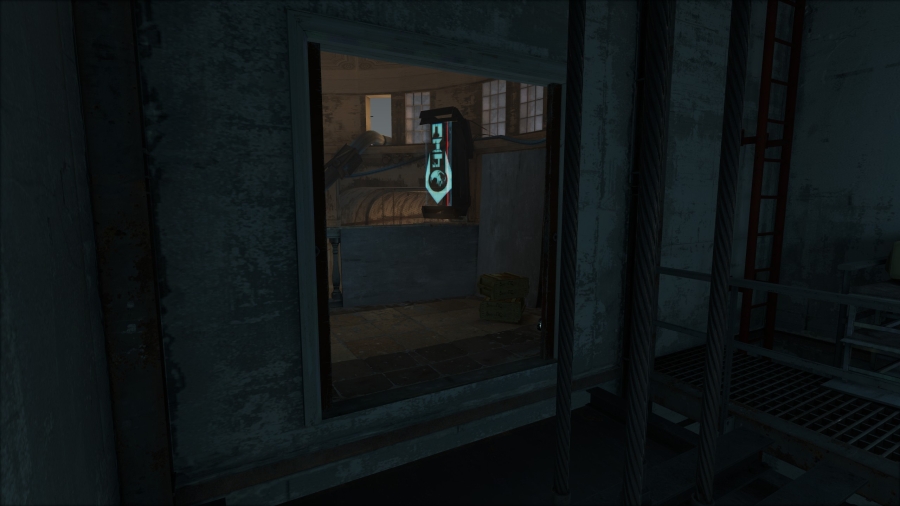
Climb the ladder infront of you and walk ontop of the elevator cab to exit the elevator shaft onto the third floor balcony. The doors will close behind you. Several manhacks and a suppressor will spawn. Defeat them, claim the battery, and exit the balcony back through the doors that have opened again.
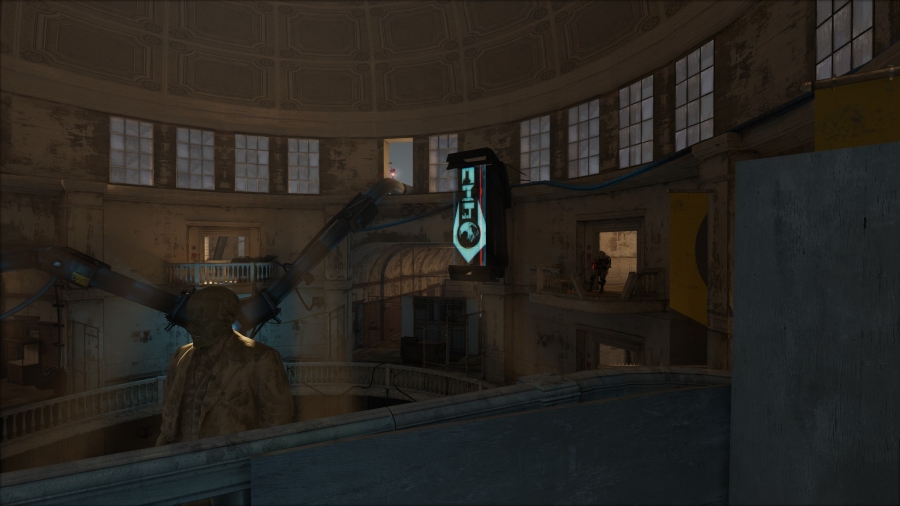
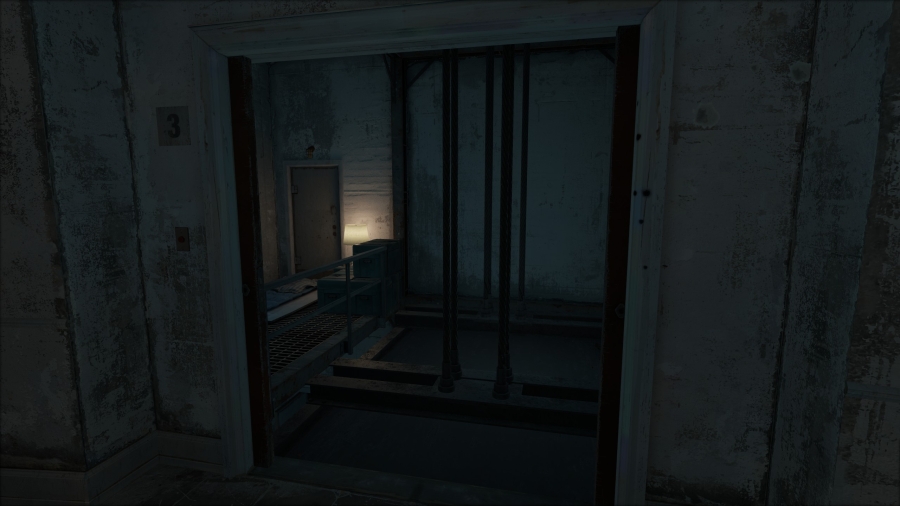
Back on the elevator cab, you become trapped again and the elevator falls a floor. Jump down off the elevator cab to the walkway. Take the ladder down and exit the elevator shaft through the basement door.
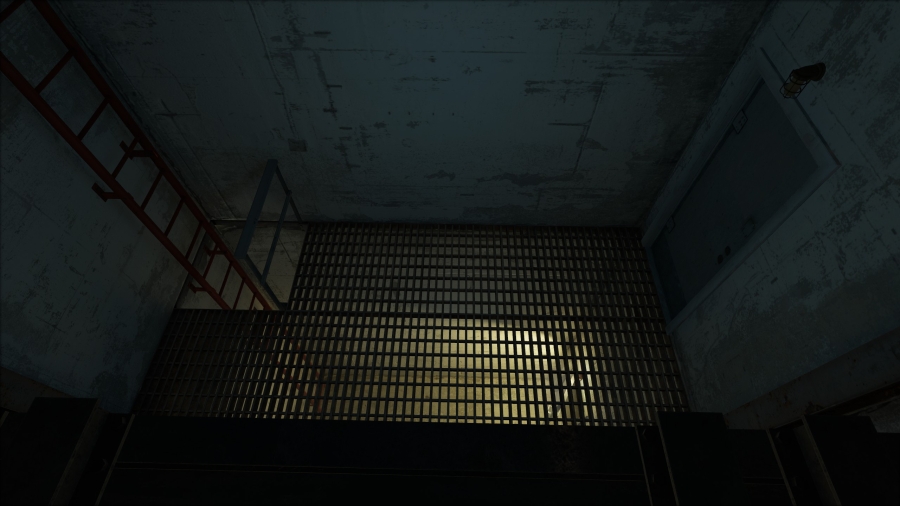
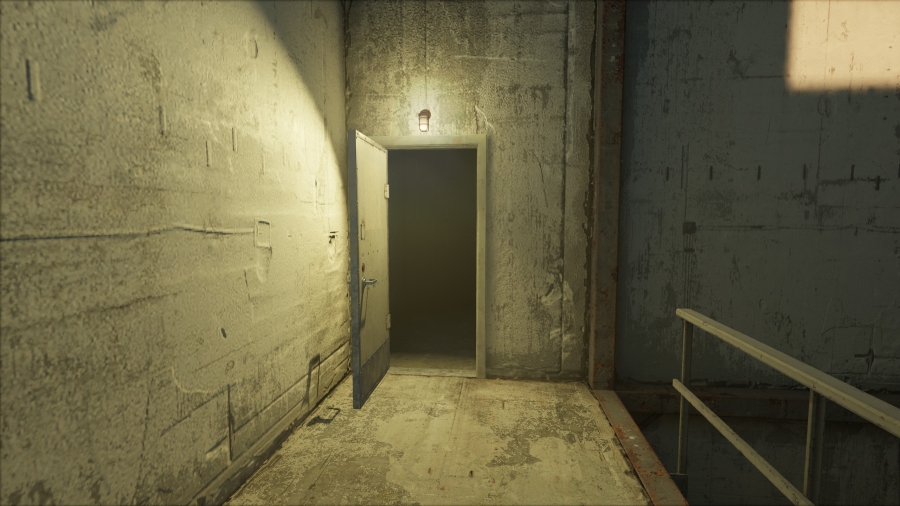
THE BASEMENT
Proceed through the maintenance basement and ascend the stairs back up into the gallery spaces. Enter the hole in the wall. Follow the between walls space to exit behind the fabricator.
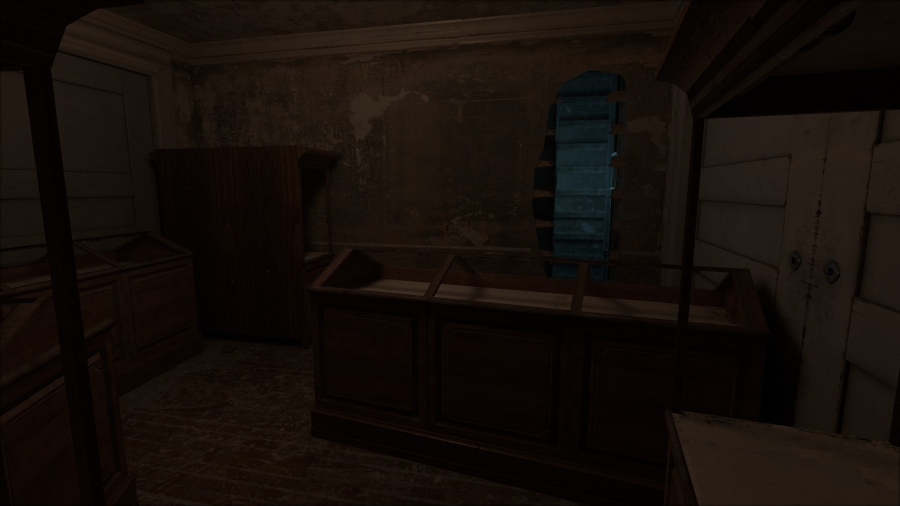
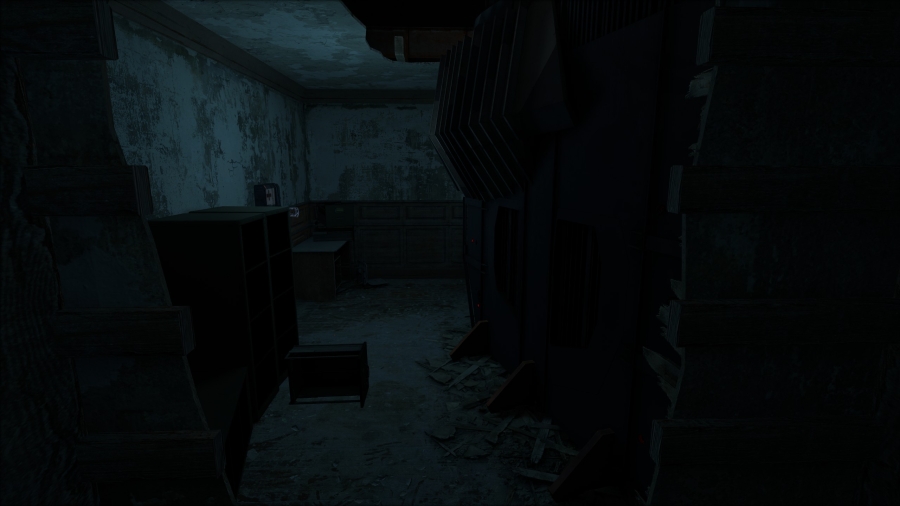
The fabricator will print you an SMG and ammo if you didn't find it earlier. Feel free to use accumulated resources on items. Once you're ready, head back into the ticketing area in the foyer.
THE FOYER
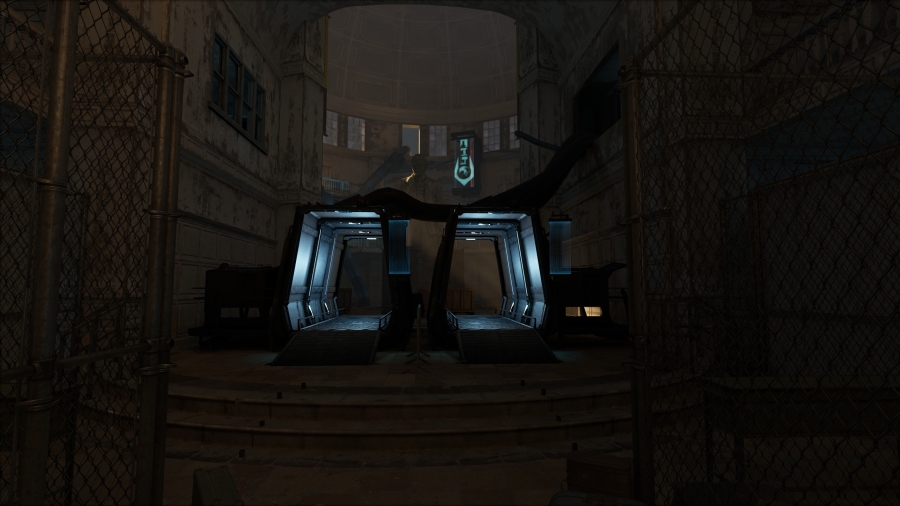
Hit the weapon upgrade station in the giftshop to upgrade some weapons. To continue on, go back through the scanners into the atrium.
THE ATRIUM
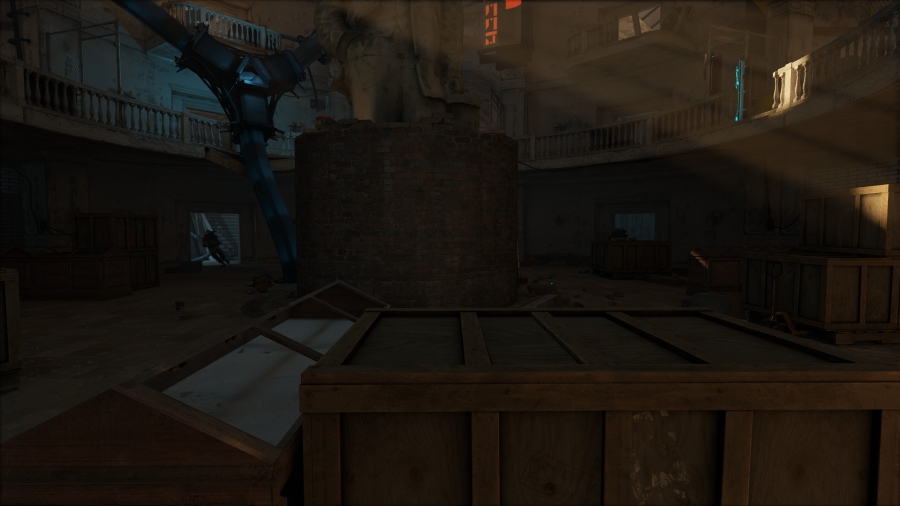
Once in the atrium, the scanners will activate behind you, blocking your retreat. Several combine will ambush you from the stairwells. Defeat them and go into the stairwell with the battery machines and slot in the battery you got from the third floor balcony. Go upstairs to the second floor and head to the west wing.
THE WEST WING
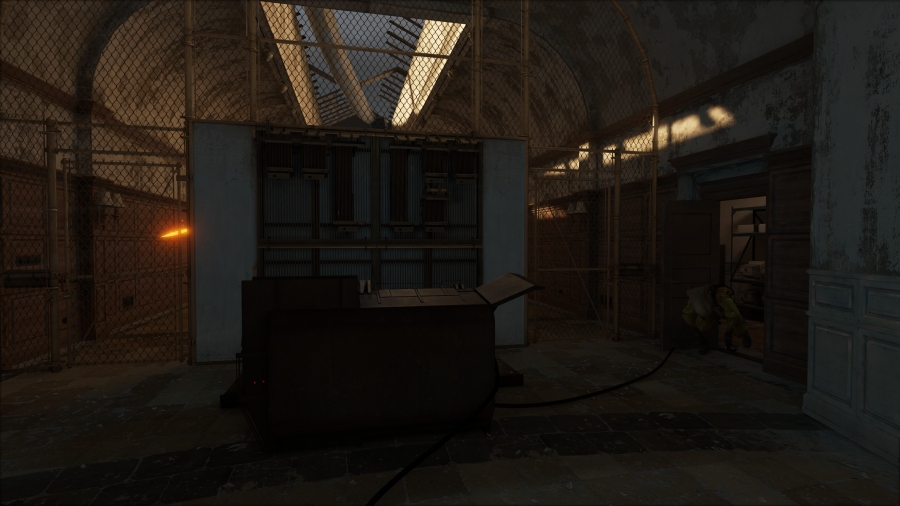
Upon approaching the west wing, entrenched suppressors will begin firing at you. Hide behind the cover wall. A zombie hearing the commotion will exit the room near the locked chain-link gates and be immediately killed by the suppressors. Head into the room the zombie came out of.
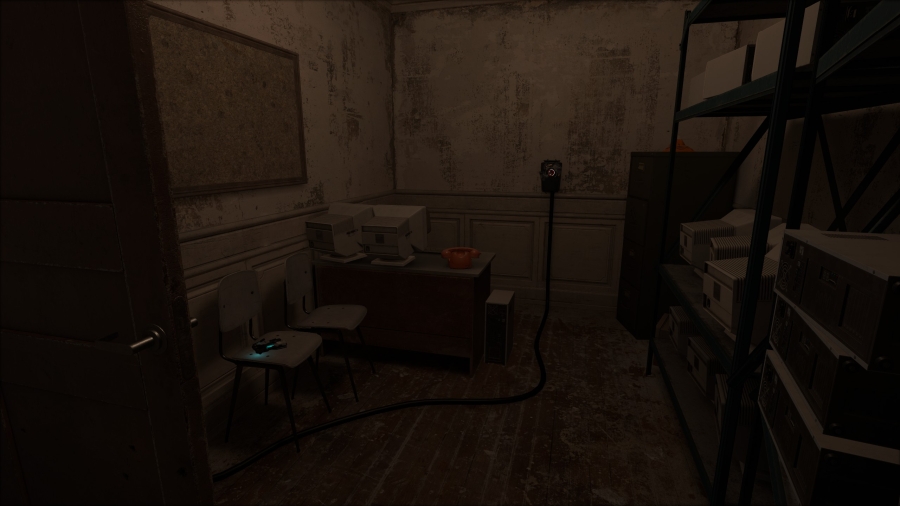
Activate the toner port with your Multitool and follow the cable back into the main east wing space. Dodge the suppressors firing at you to reach a left or right choice toner junction. Choose either direction (walkthrough will assume left choice).
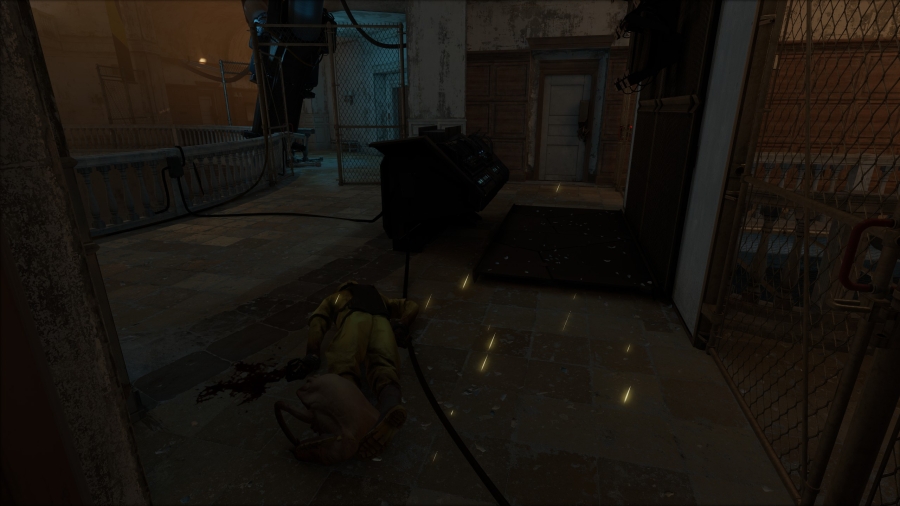
THE ATRIUM
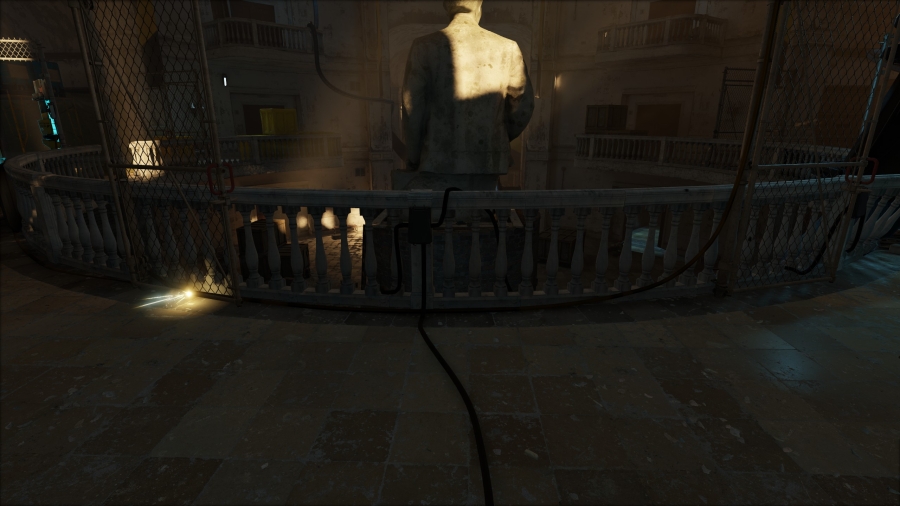
Follow the left cable down into the first floor of the atrium, activating the junction on the ceiling and on the pillar near the north wing security gate. The security gate will open allowing access to the north wing first floor.
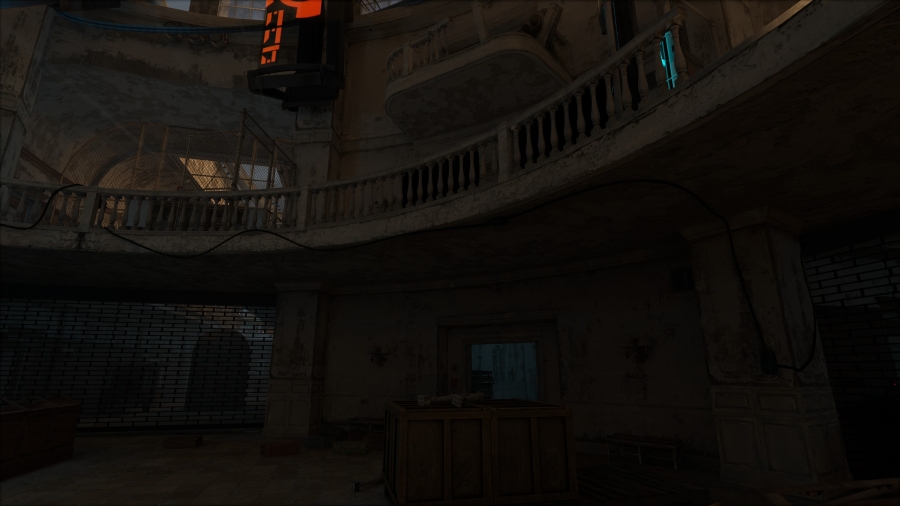
THE NORTH WING
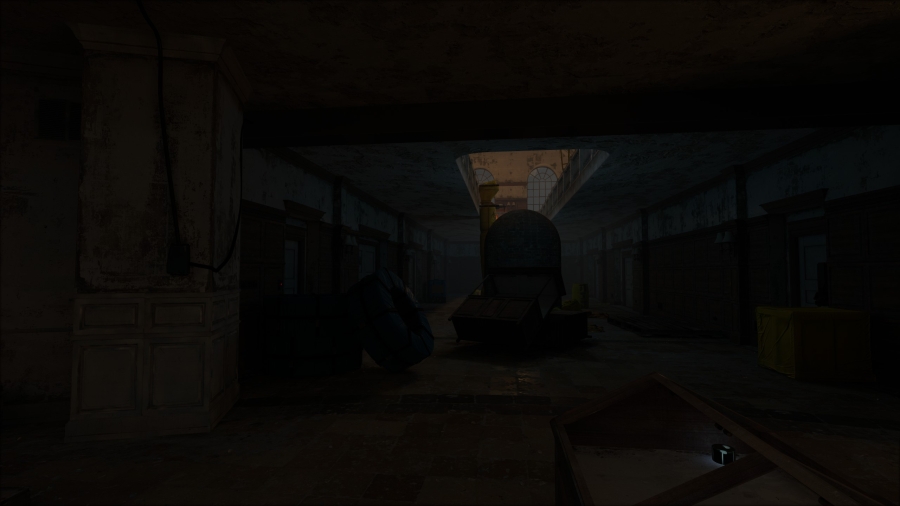
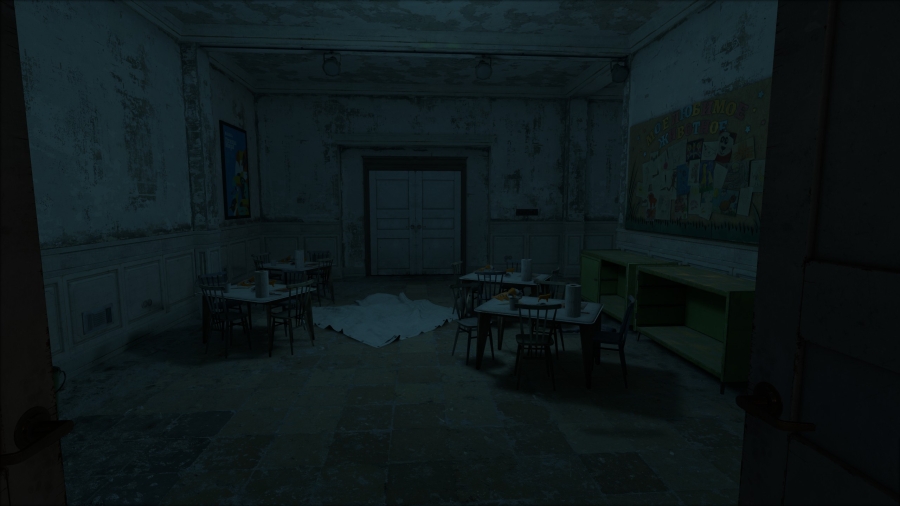
Enter the children's section through the gallery doors to the left of the entrance, and continue through into the courtyard outside.
THE NORTHWEST COURTYARD
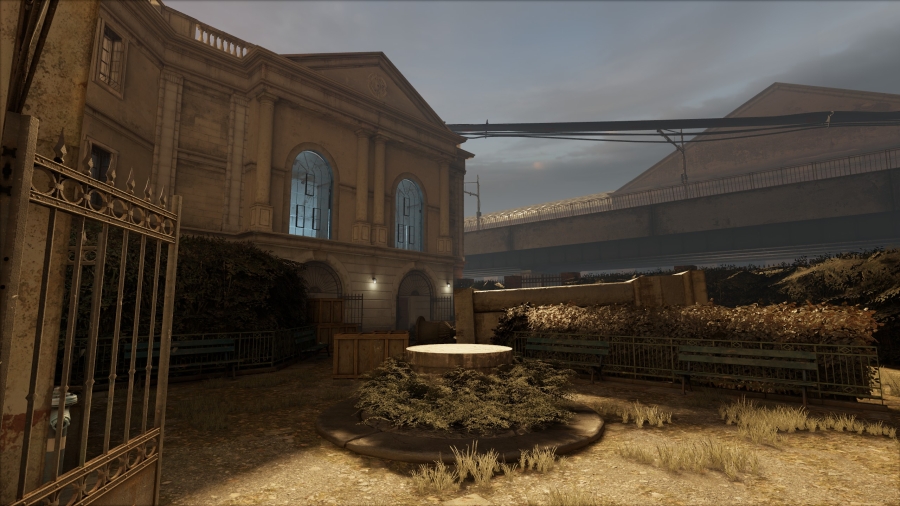
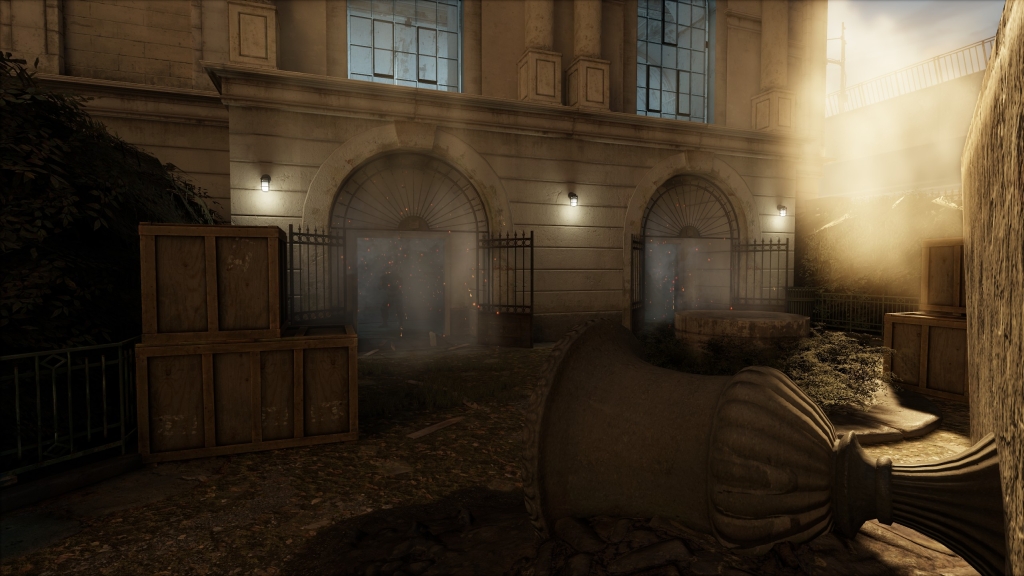
Upon entering the space and walking forward, the two doors in the first floor of the west wing will be breached and two combine will enter the courtyard. Defeat them and walk through the freshly breached doors and the gallery behind them into the first floor of the west wing.
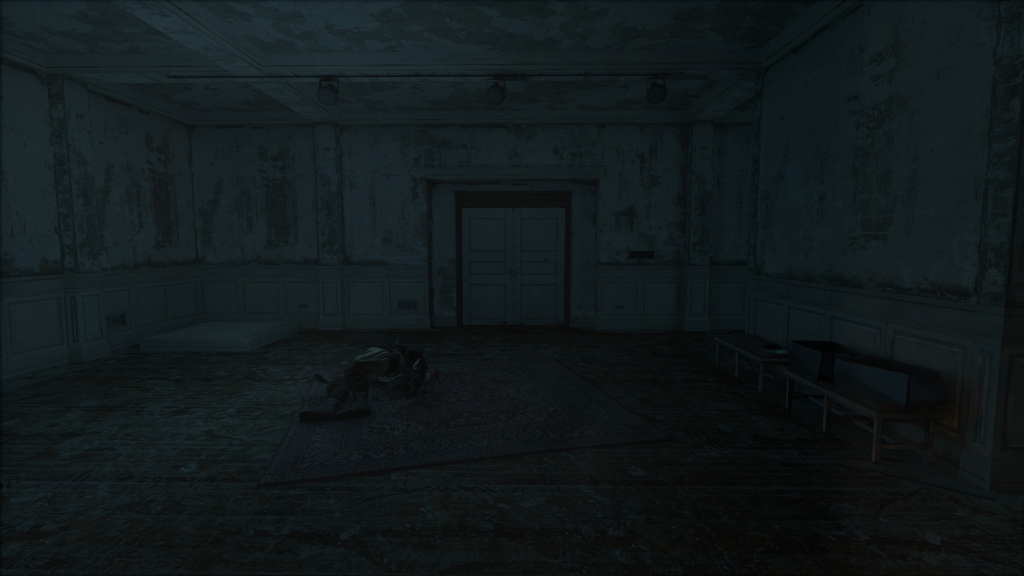
THE WEST WING
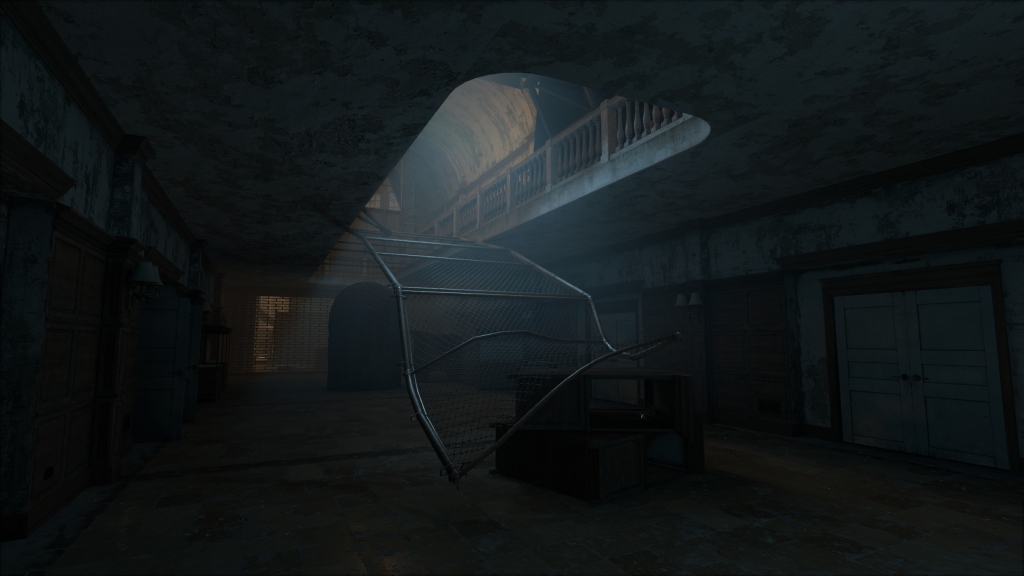
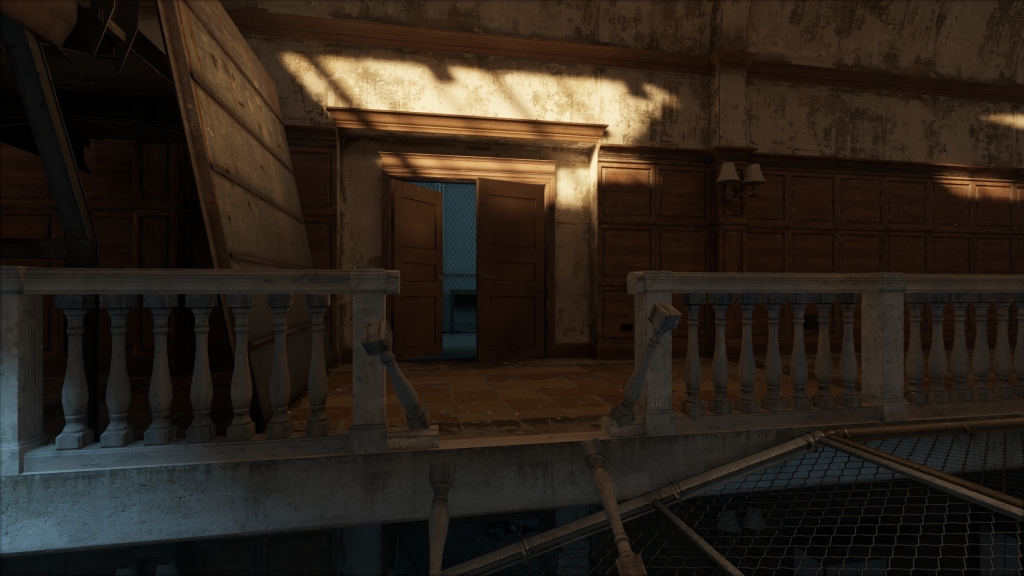
Climb the fallen chain-link fence to access the second floor of the west wing, below where the suppressors are. Quickly run through into the open gallery doors to your left, through the broken railing.
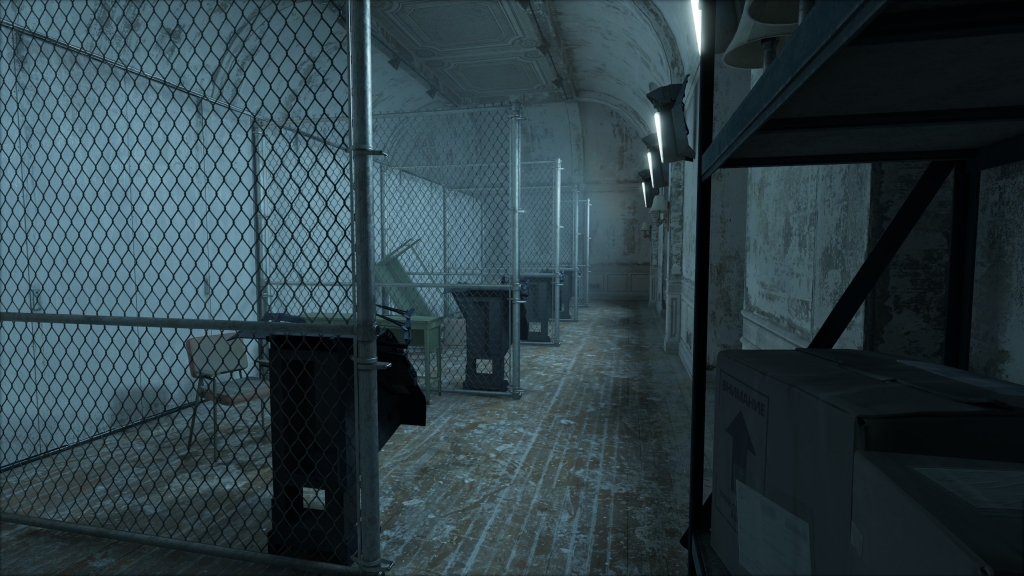
Walk through the converted gallery space and exit through the other set of double doors. You will be behind the suppressors on the balcony. Take them out.
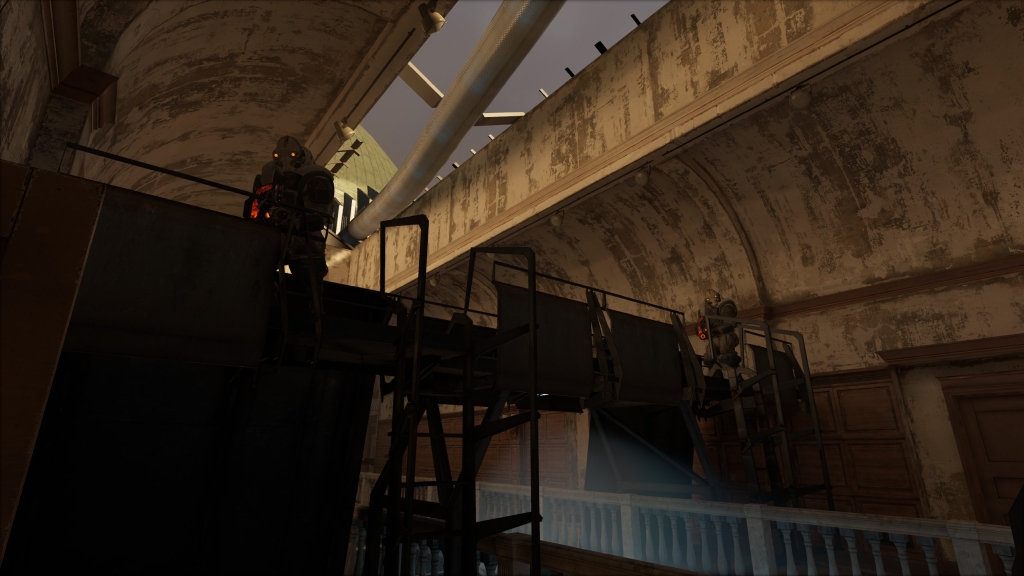
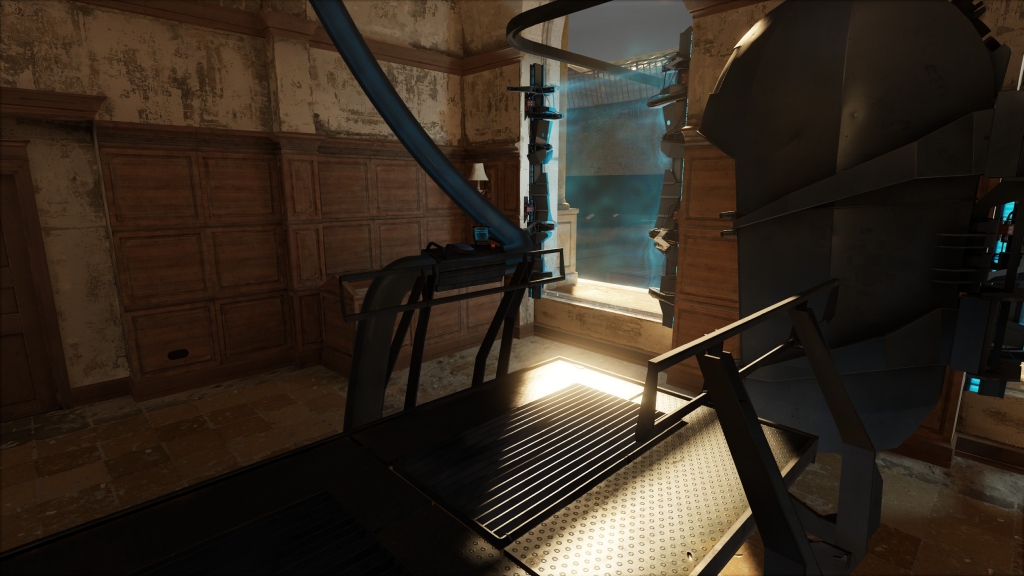
The next battery can be retrieved from the cable attached to the pod loader. Collect it and head back to the stairwell with the battery machines.
THE ATRIUM
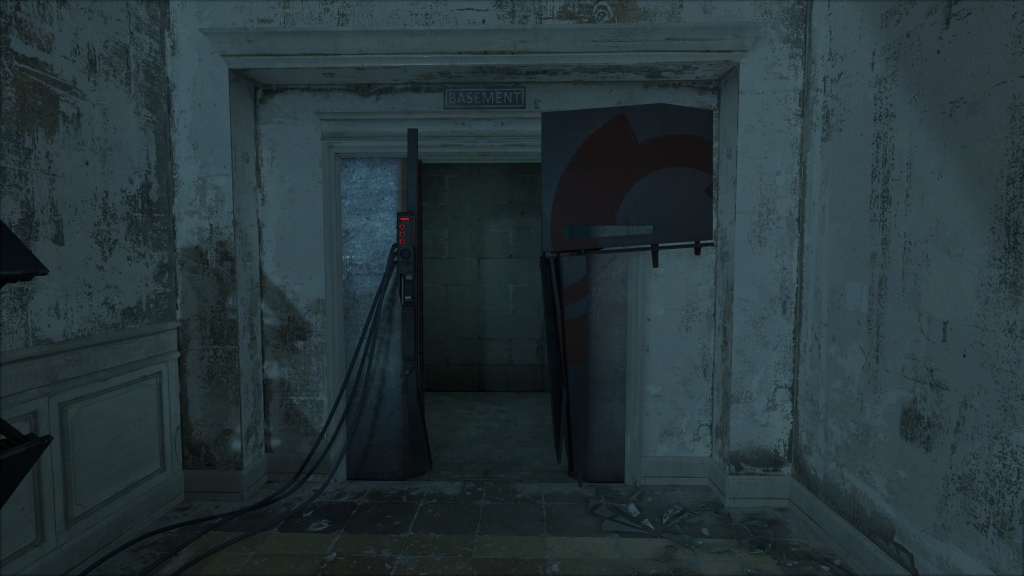
Upon inserting the last battery, the basement door will open and grant access to the other half of the basement.
THE BASEMENT
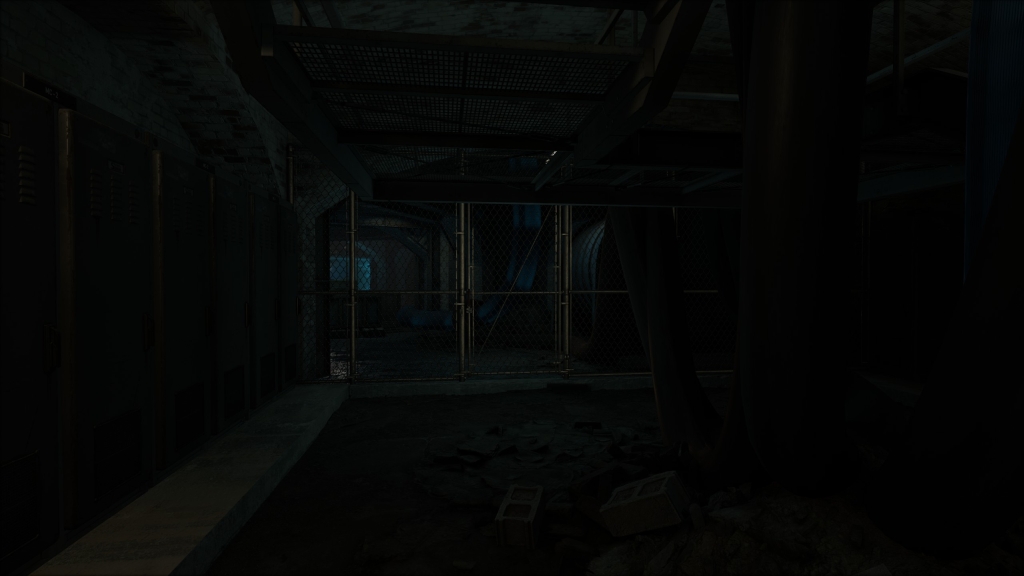
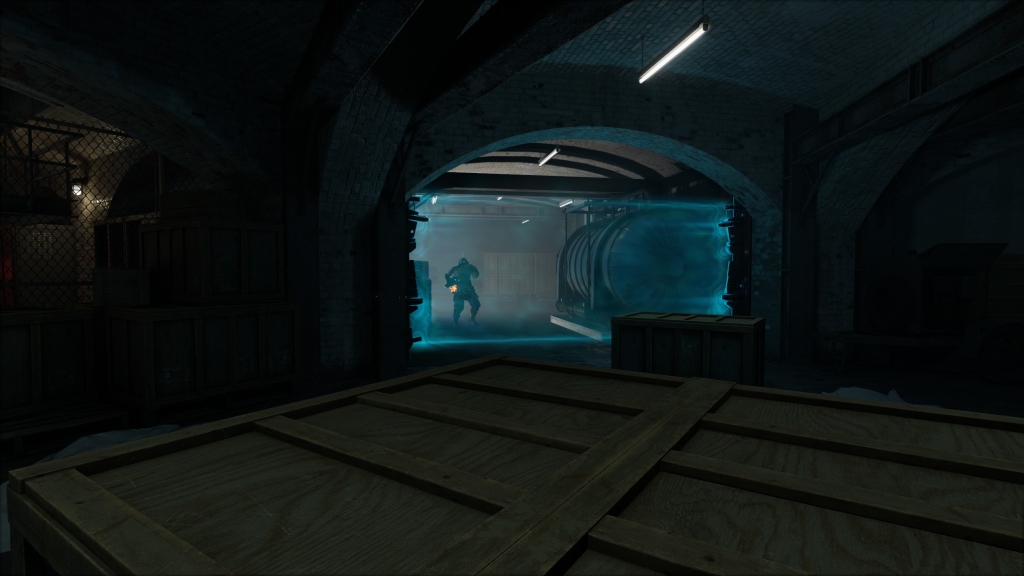
Follow the path down into the basement and exit through the chain-link fence door into the full basement. Follow the path clockwise around. Four combine will exit the freight elevator behind the fencefield and attack. Deal with them and continue around.
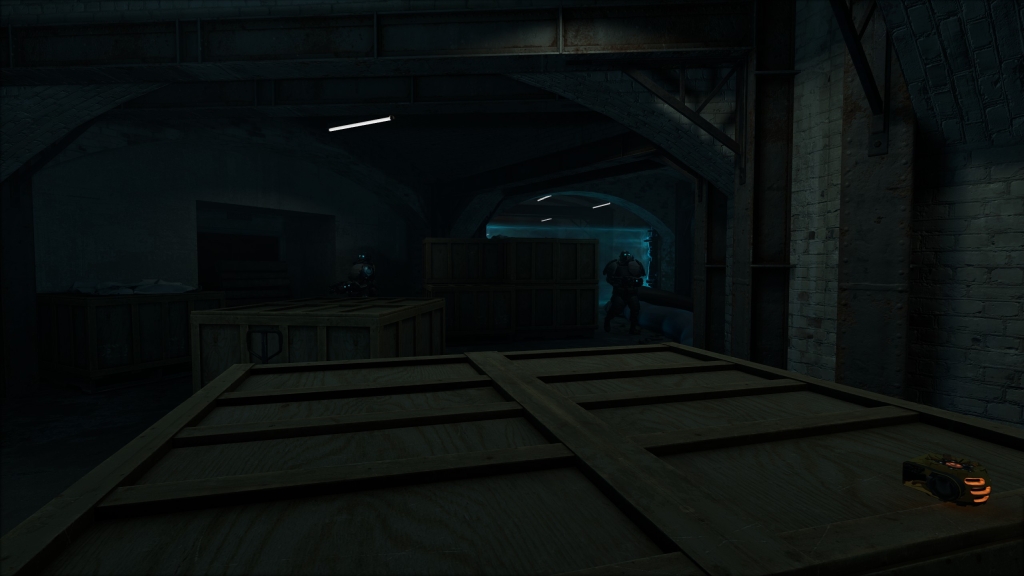
Two chargers will attack next. Fight them and continue past the fencefield that deactivates.
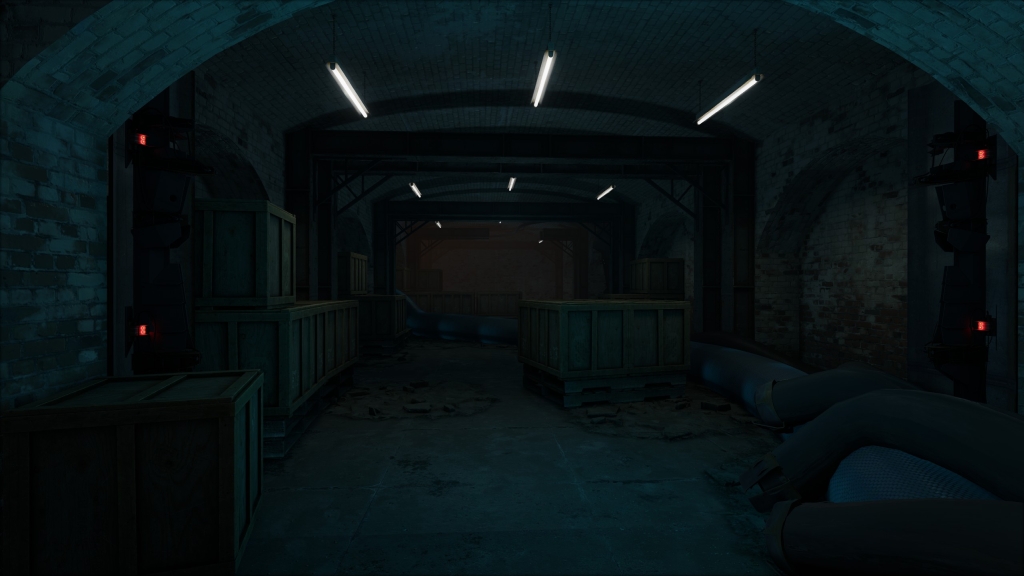
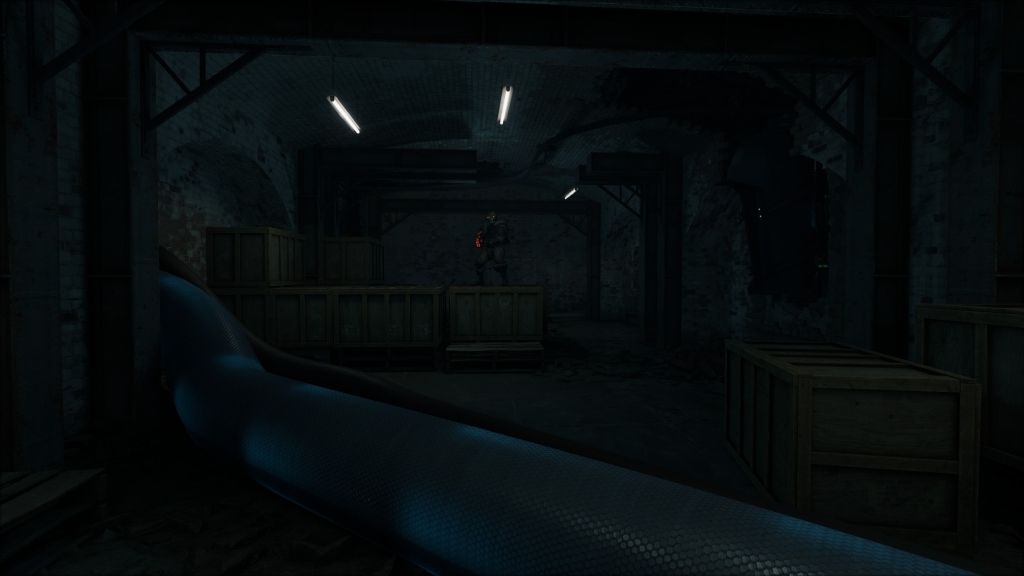
Walking down the hallway, a suppressor will pop up behind some boxes. Take cover and take them out.
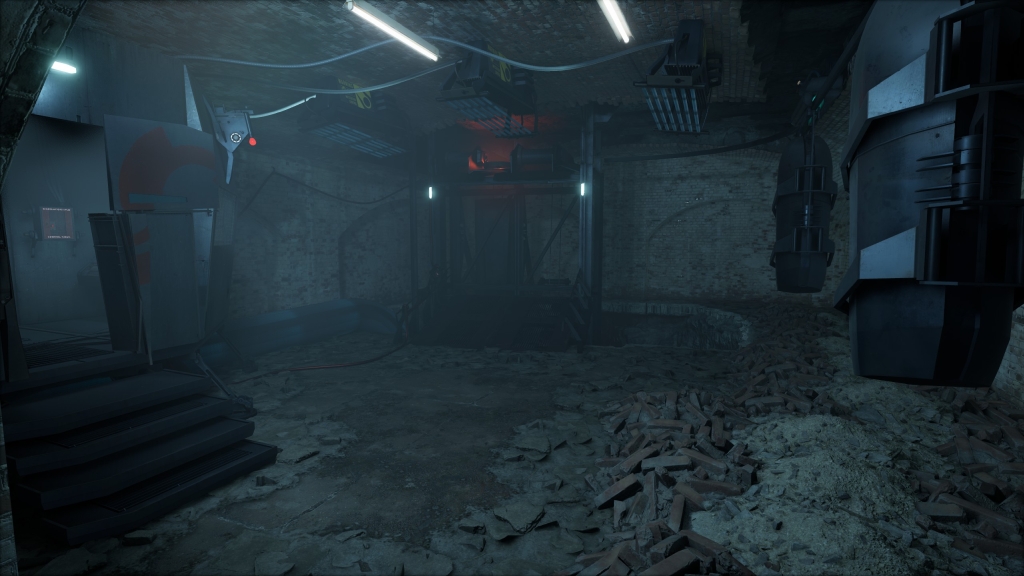
Going through the destroyed wall the suppressor came from, there will be an elevator and a combine booth.
Walk towards the elevator and activate the toner puzzle. Follow the cable back into the combine booth.
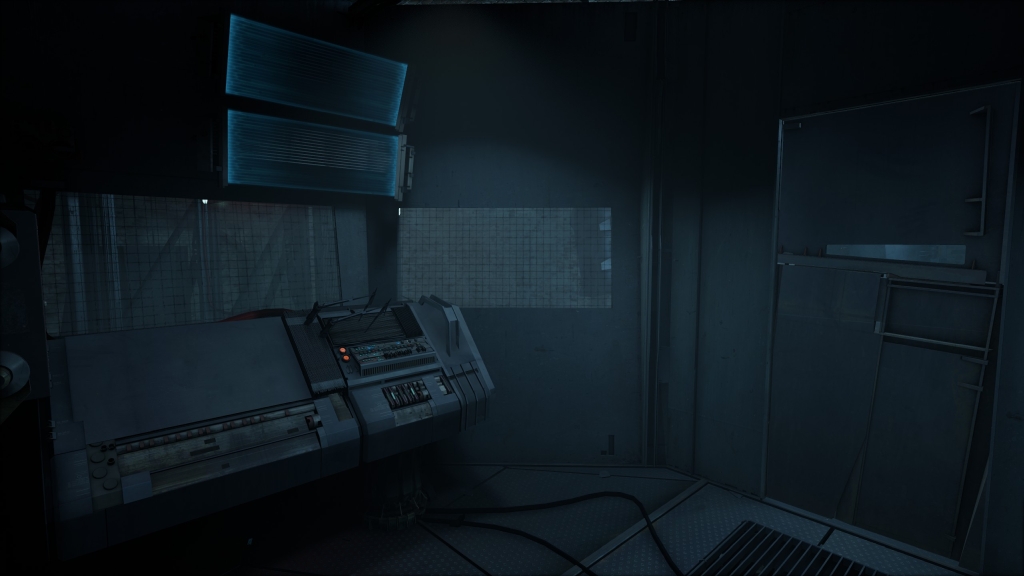
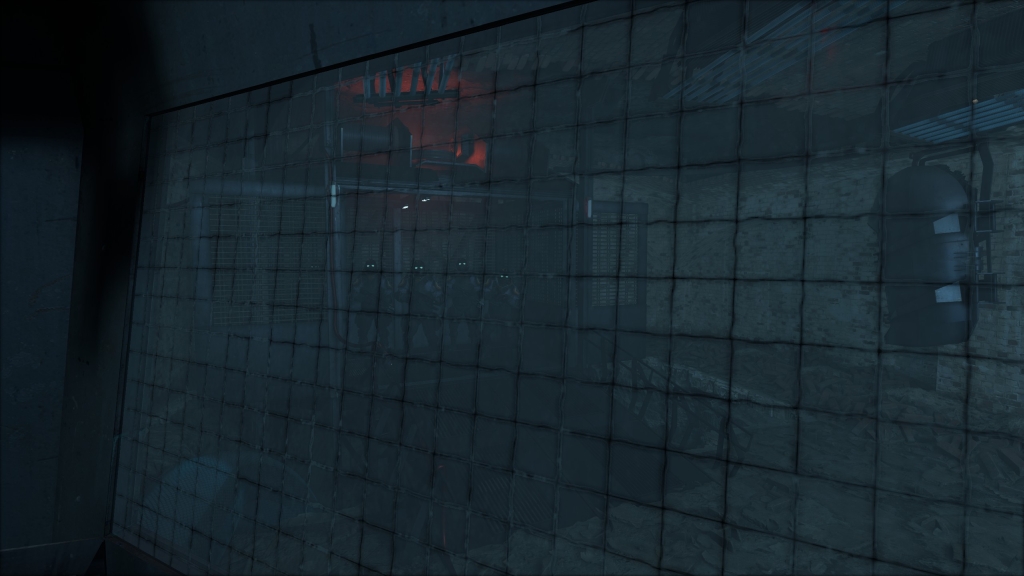
The elevator brings with it five combine officers, who post up around the room.
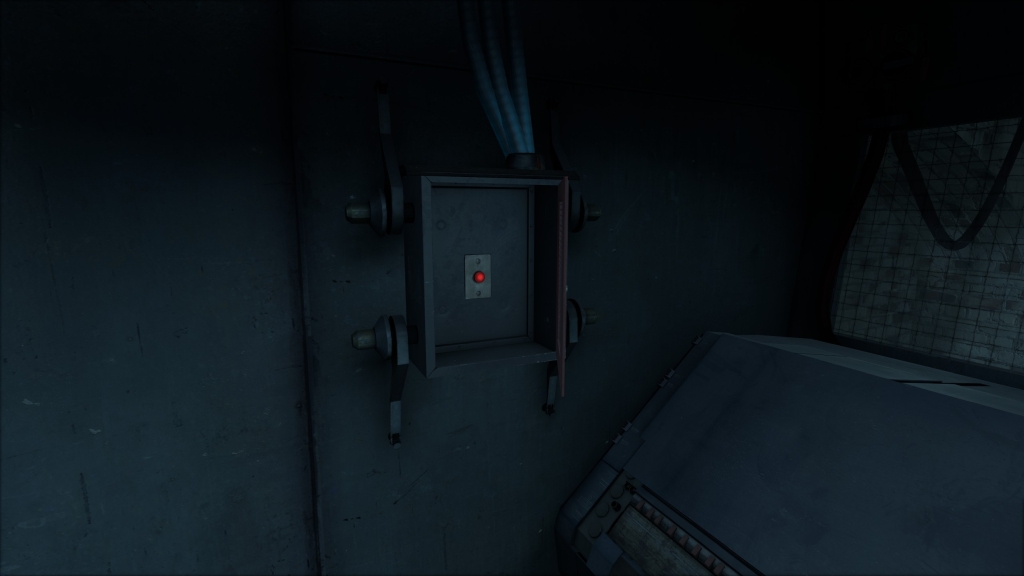
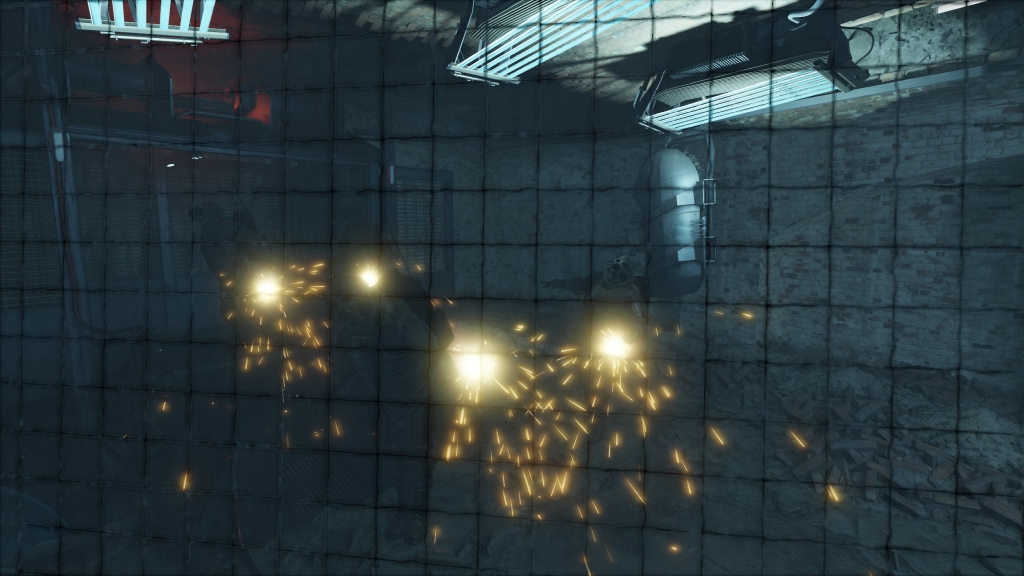
Press the Dissolution Field Activator switch in the safety box that pops open. The combine will be vaporized and the door will open.
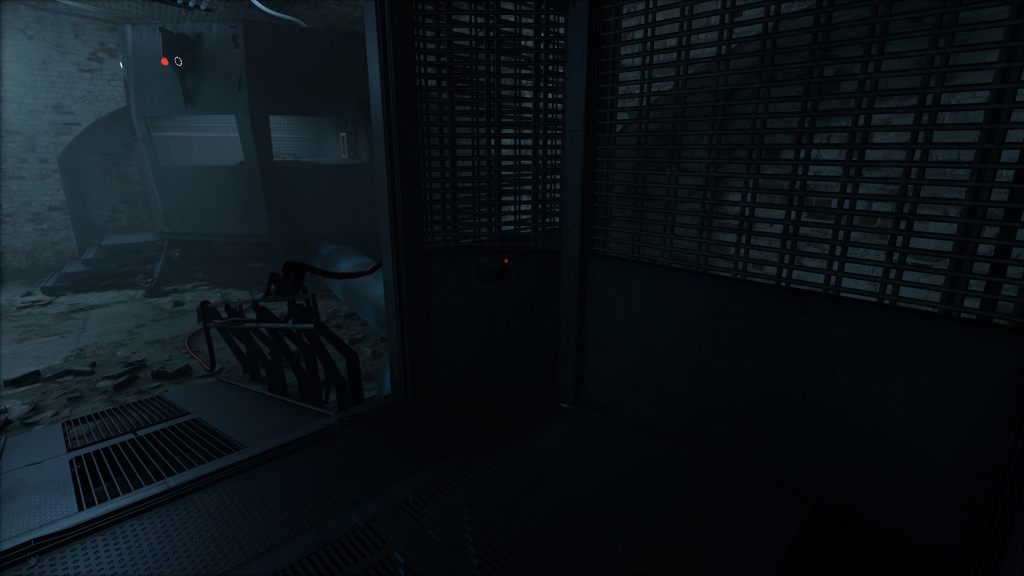
Exit the booth and enter the elevator. Press the button to take the elevator cab down to finish the level.


 Image Font: SteelTongs by TracerTong.